We use cookies to make your experience better. To comply with the new e-Privacy directive, we need to ask for your consent to set the cookies. Learn more.
FITTING AND USING FALSE FENCES ON TREND CRT AND WRT ROUTER TABLES
A false or sacrificial fence is normally associated with a spindle moulder but they have to have wooden fence facings or the option to fit them.
For those that do, they can be a staple part of daily routine, allowing full support of the work past the cutters for a smooth transition across the cutter aperture and a zero clearance cut to minimise breakout.
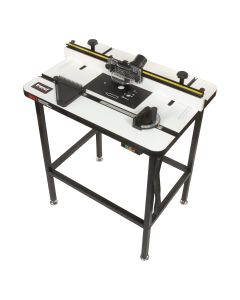
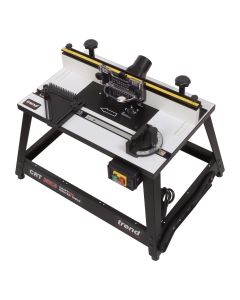
Router tables can also reap the rewards of this application if they can have a false fence fitted.
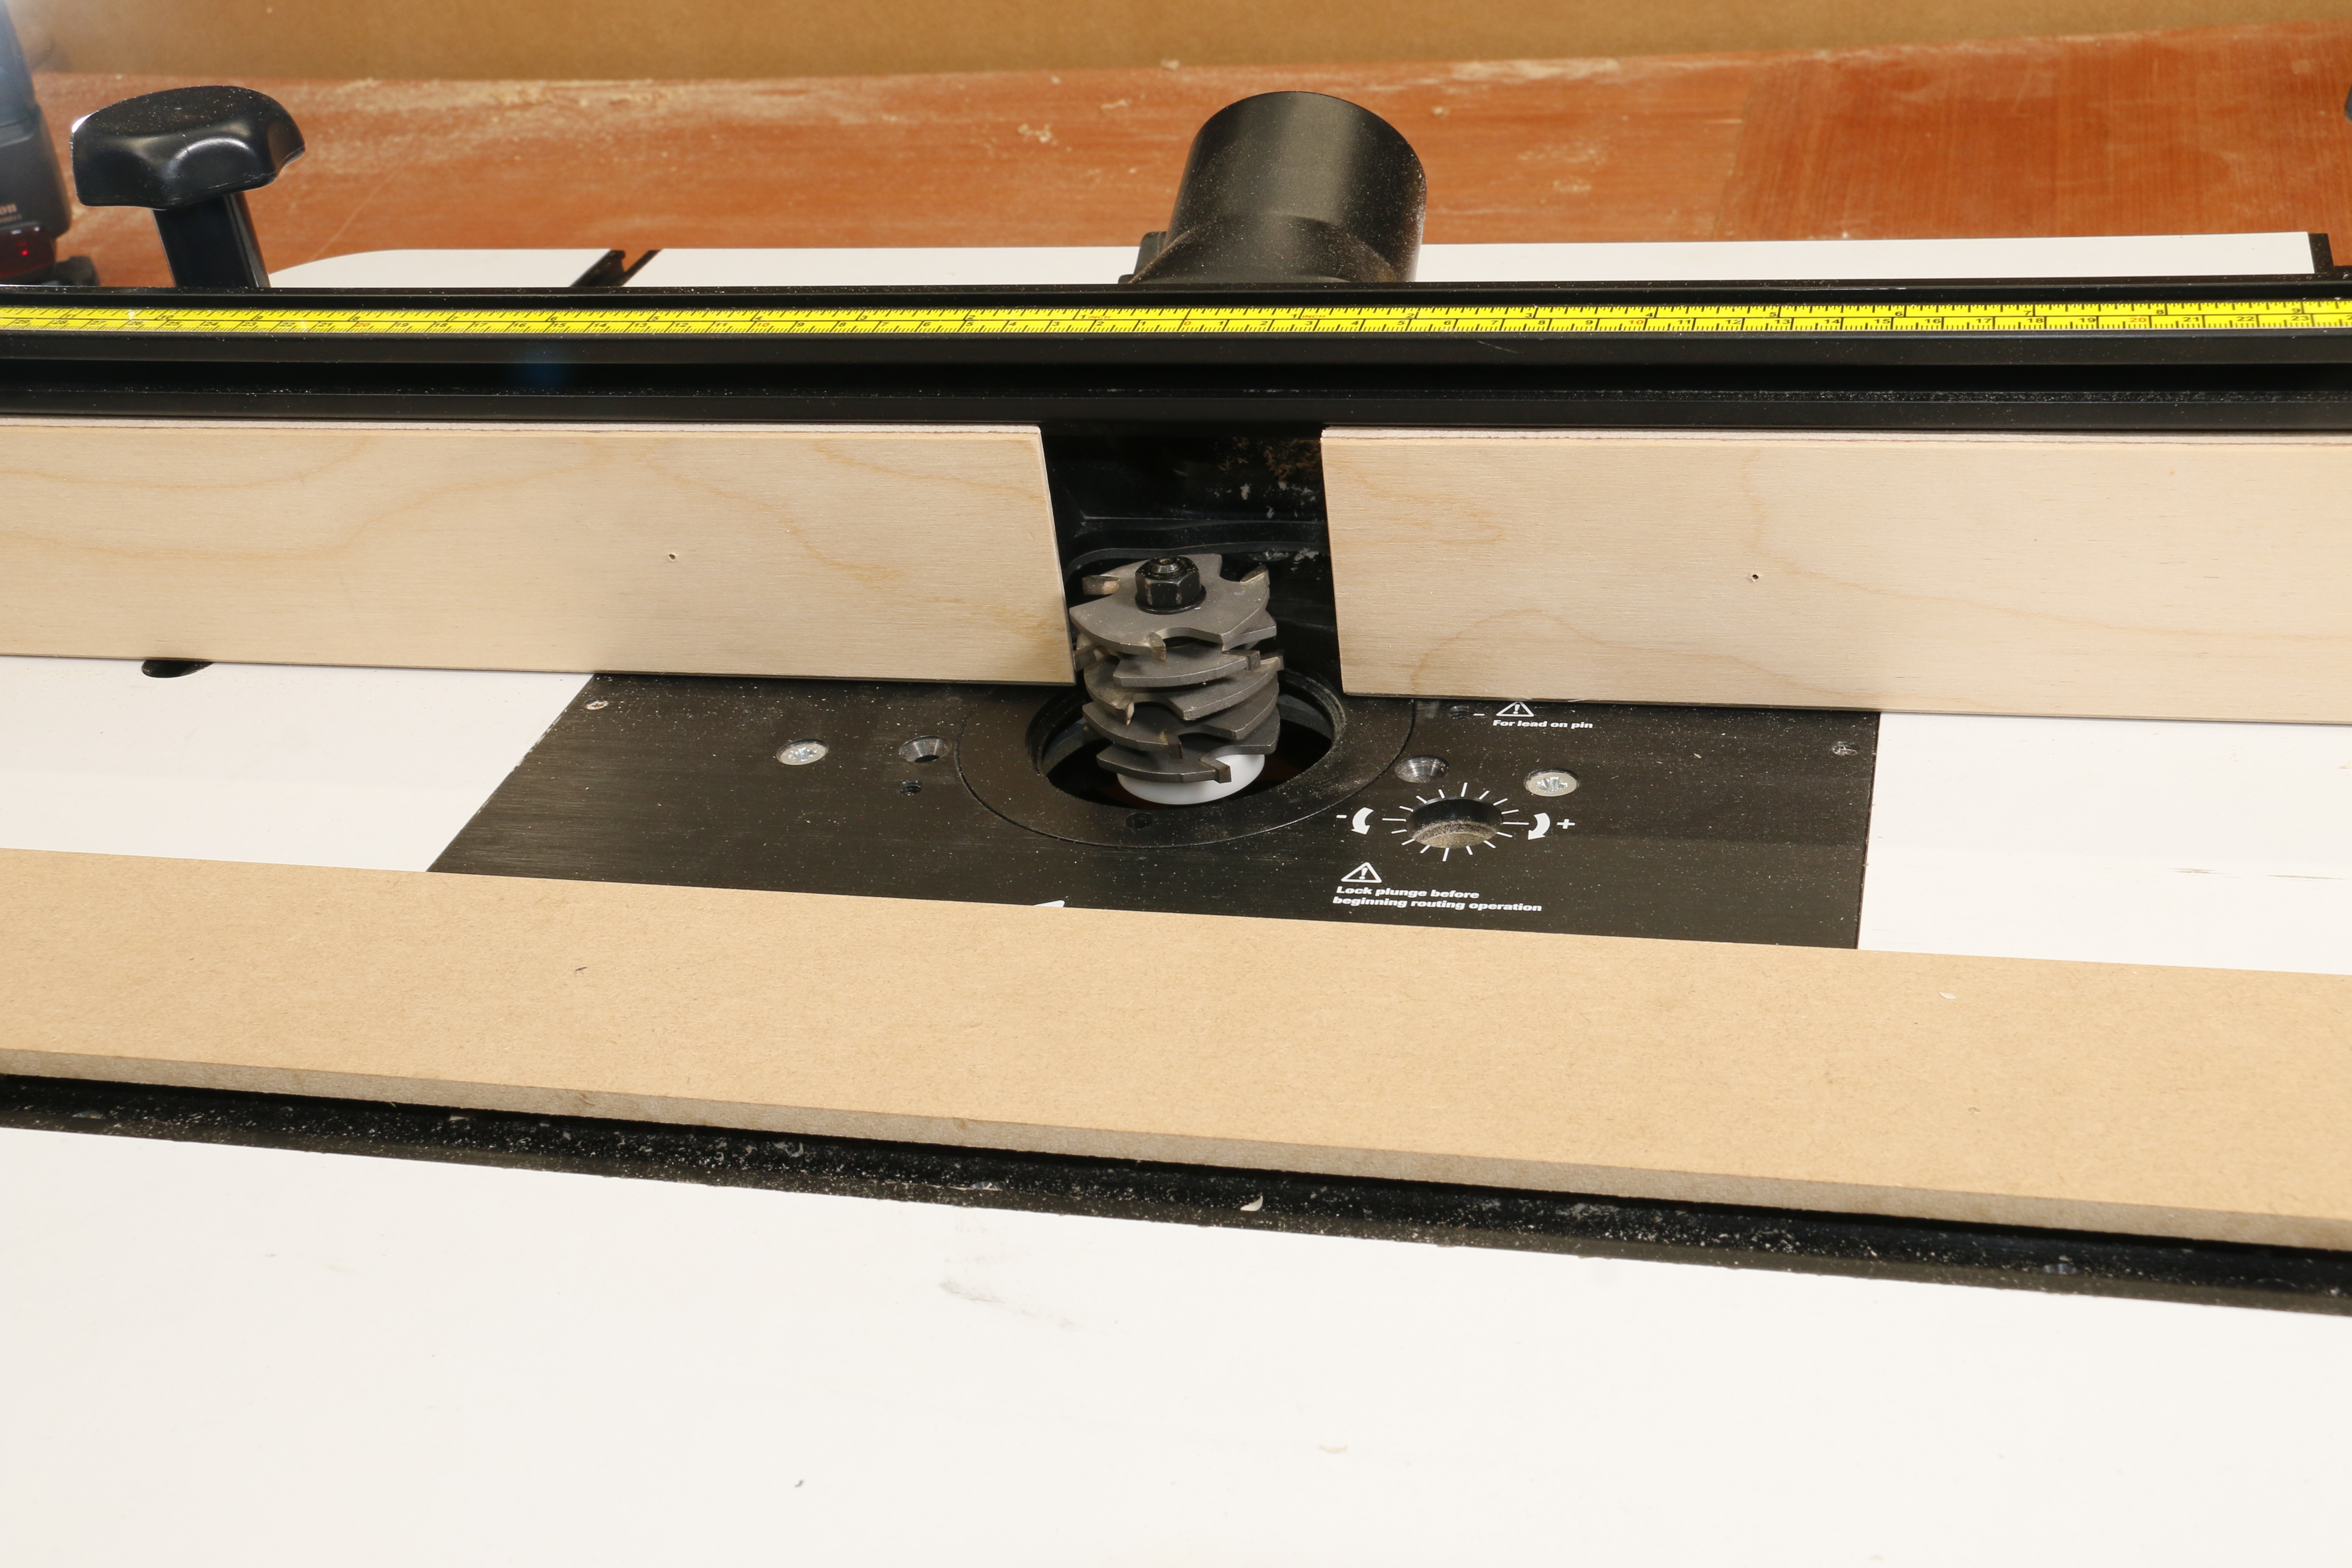
The Trend WRT and CRT Router tables can be easily adapted to allow identical work practices to be achieved.

The first step is to remove the laminated fence facings and mark up the replacements. This can be ply or natural timber to match the original thickness. 19mm stock works perfectly.
MDF can be used for the facings but as some thicker MDF can be very hard on the face it can bend any thin pins being tacked to it.
Cut the fence facings to width keeping them slightly narrower than the fence apertures so that they don't bind as they are being altered.
Cut the facings to length, bevelling one end of each one to allow them to sit closer to the cutter so that they can be used for normal fence work as well as for false fence applications.
Running a light chamfer detail around all the square edges prevents any splintering on the ply faces.
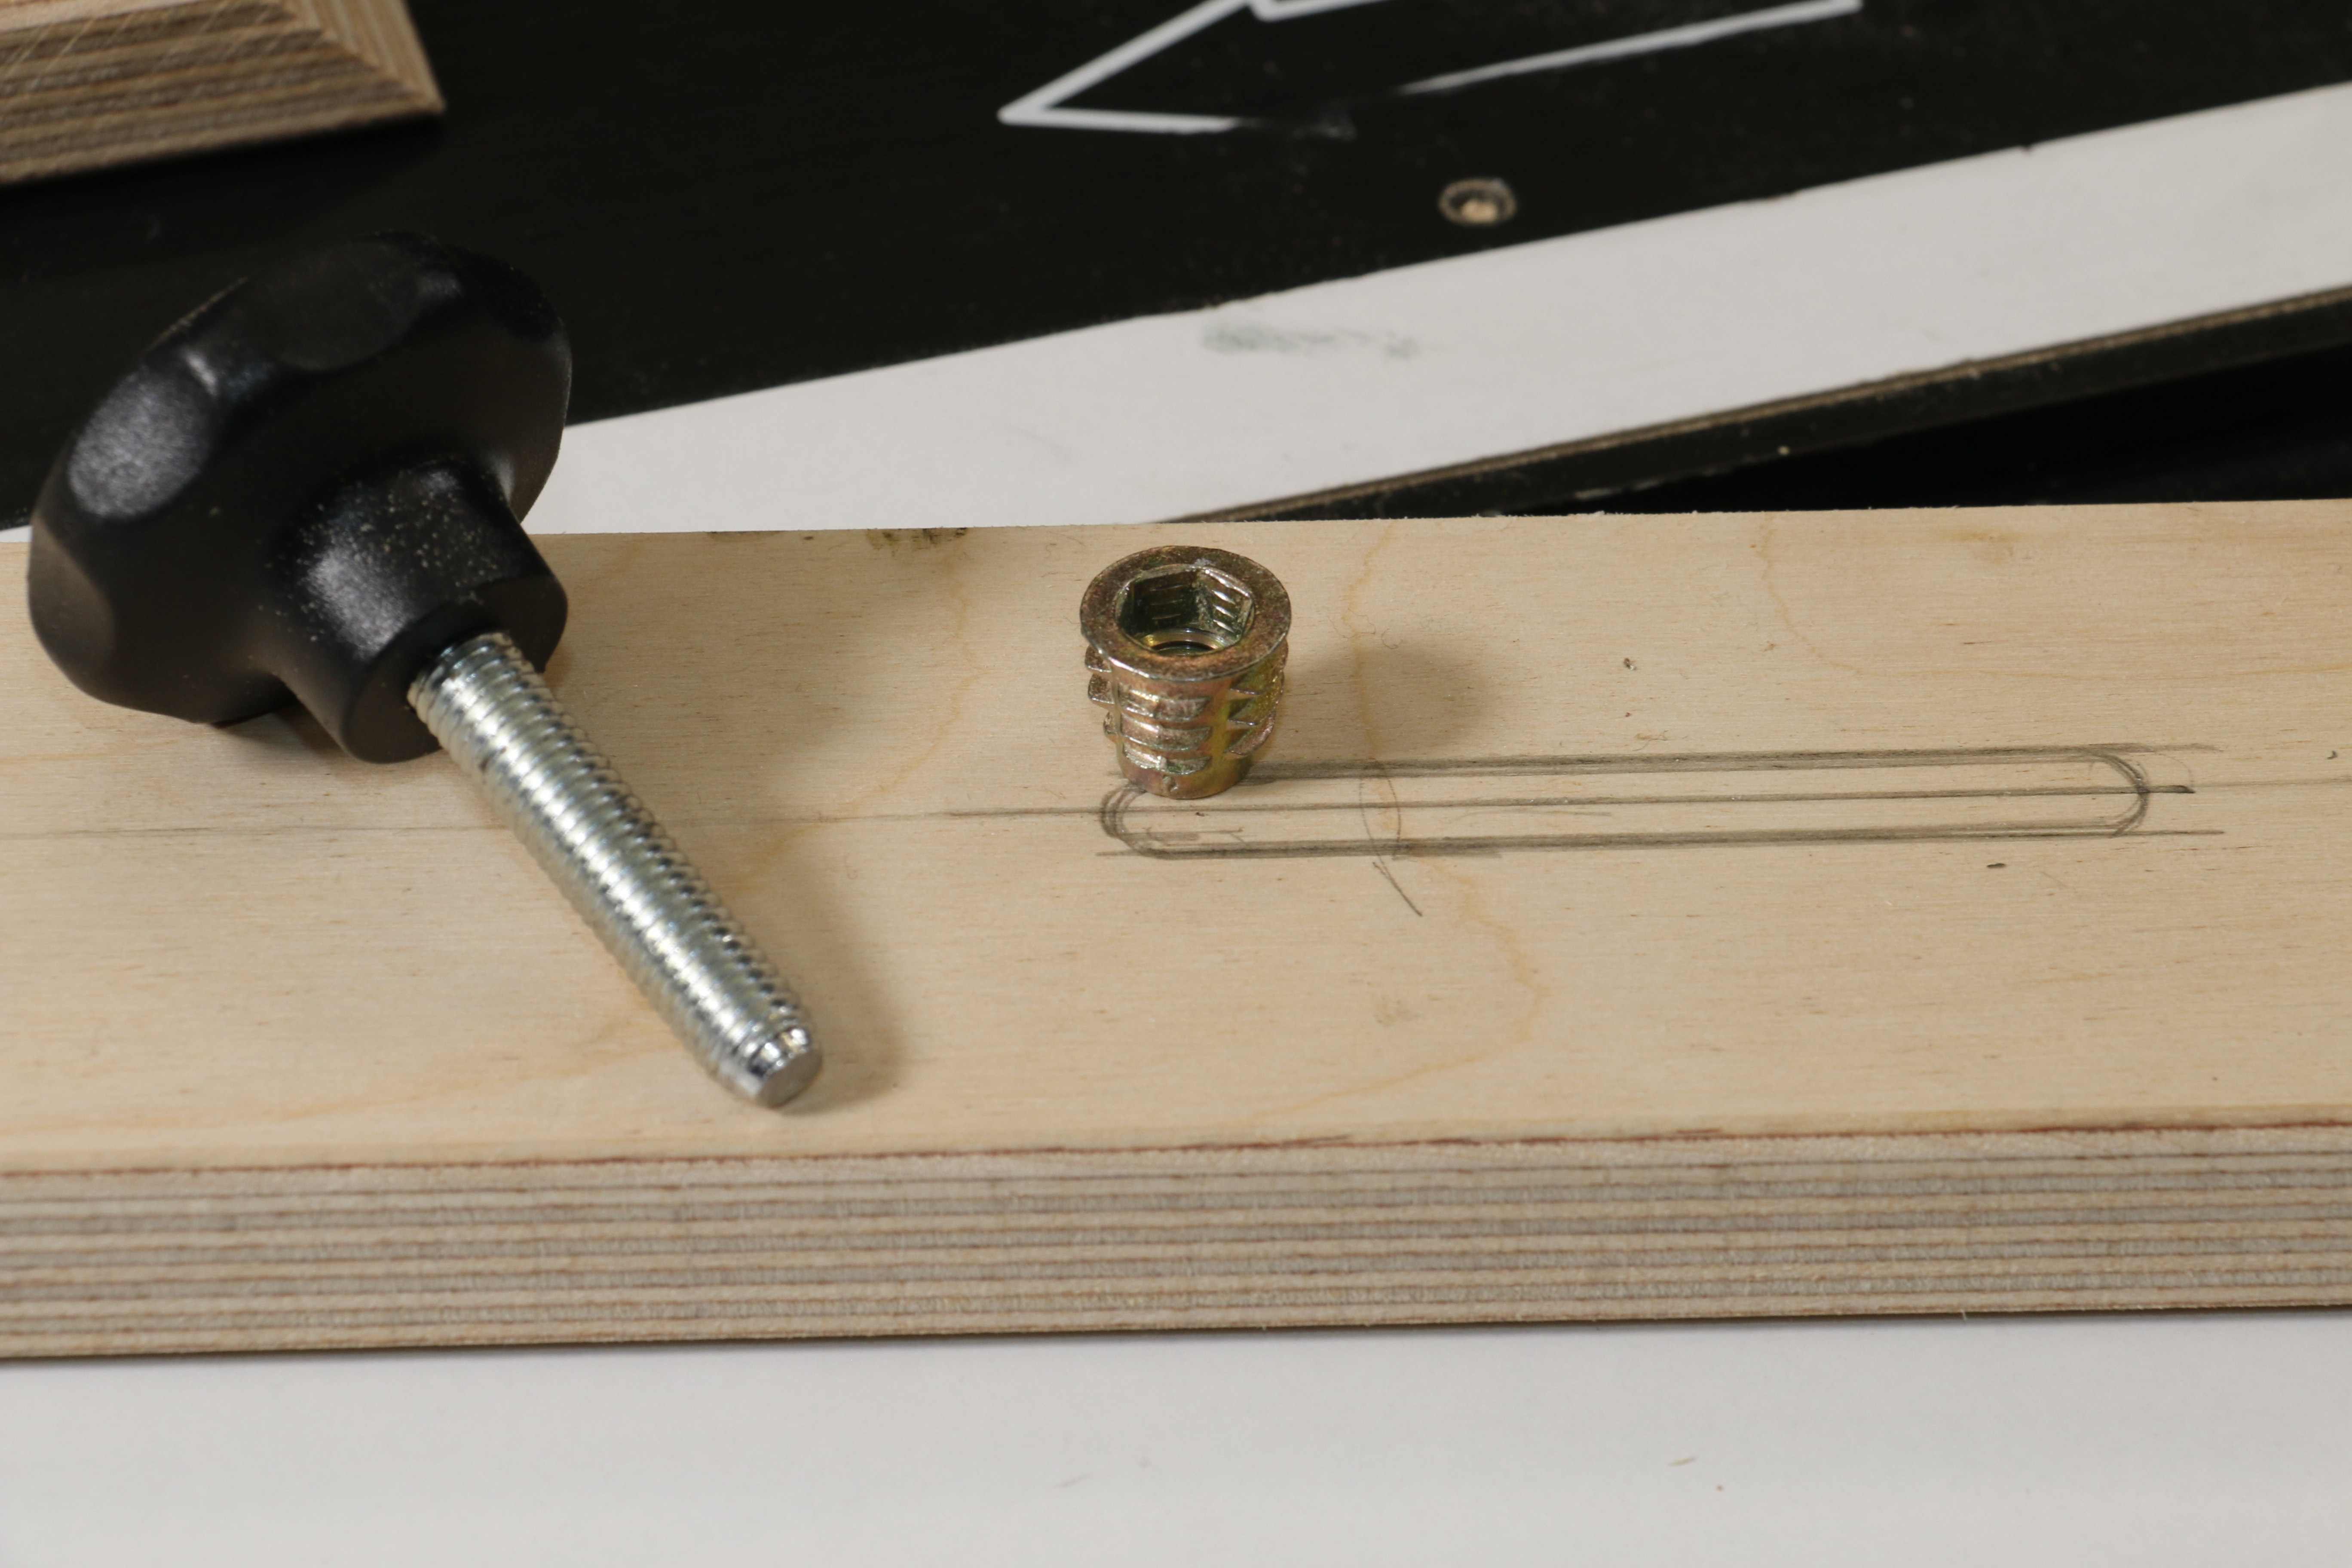
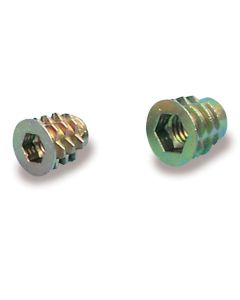
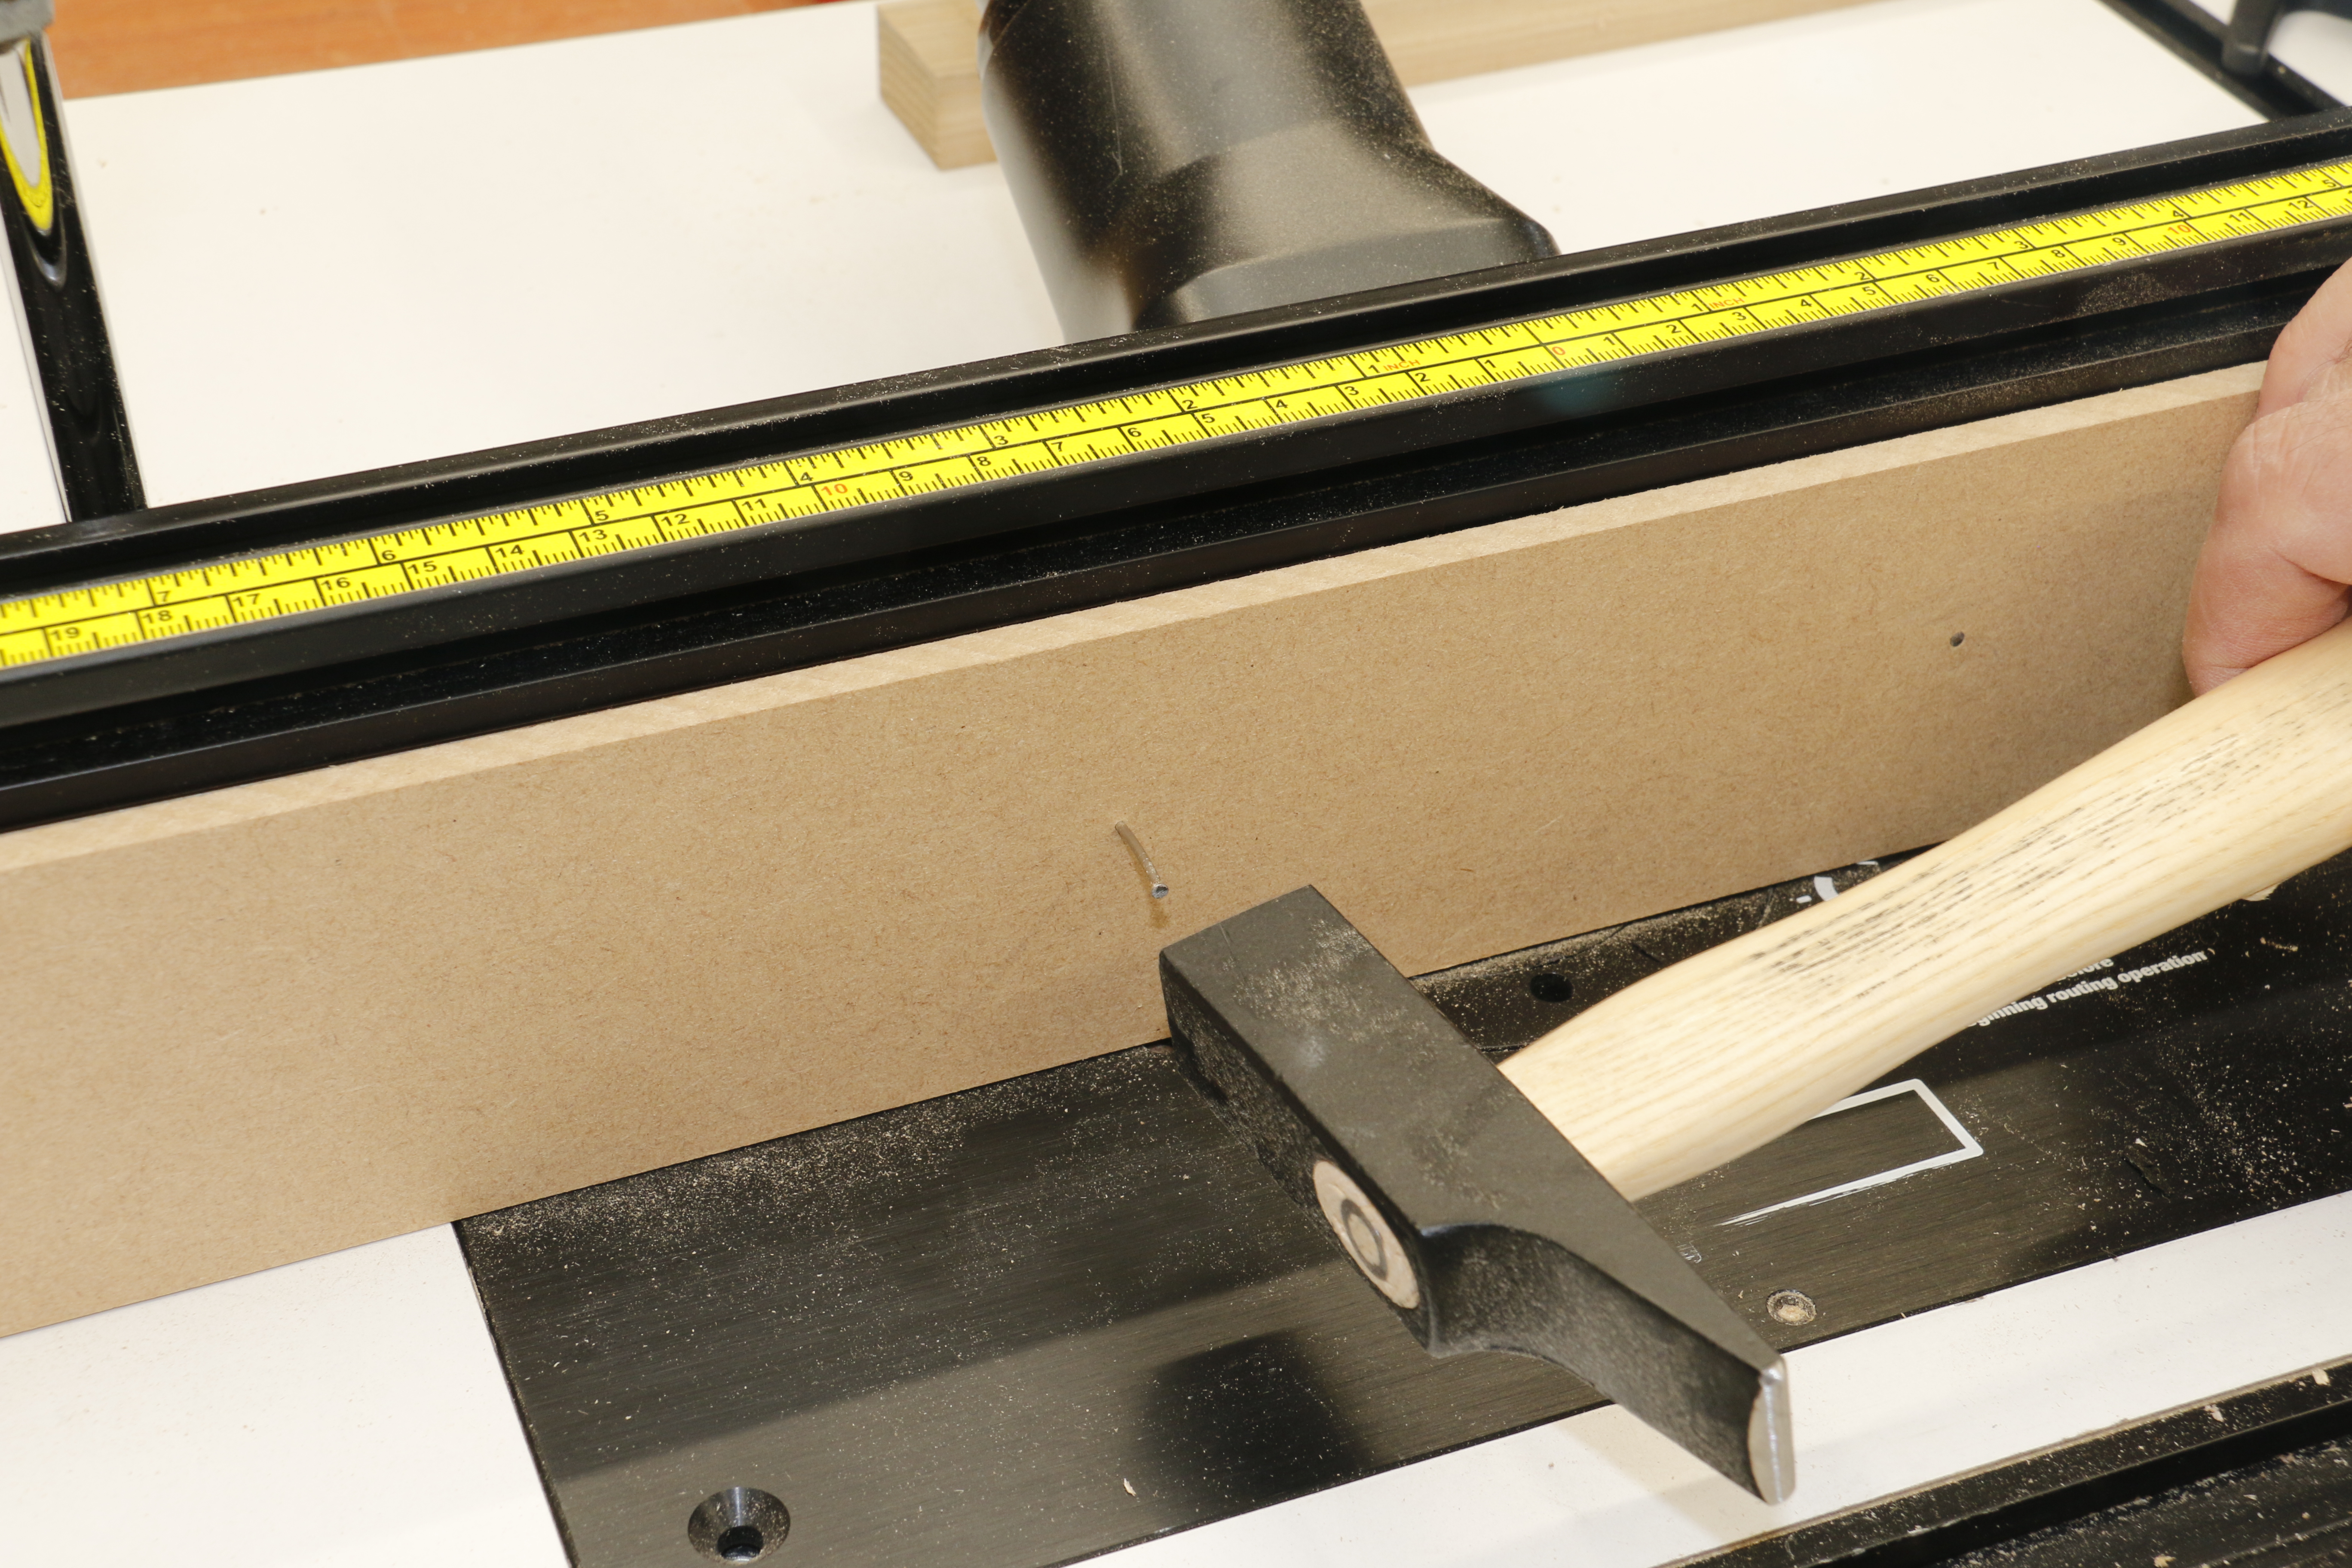
Mark up the facings through the slots in the fence extrusion ready to have the inserts fitted.
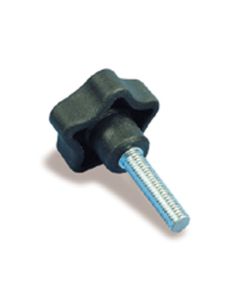
6mm or 8mm inserts are suitable. Ref. INS/W6/10 or INS/W8/10 and will need matching knobs Ref: KB5/M/6 or KB6/M/8
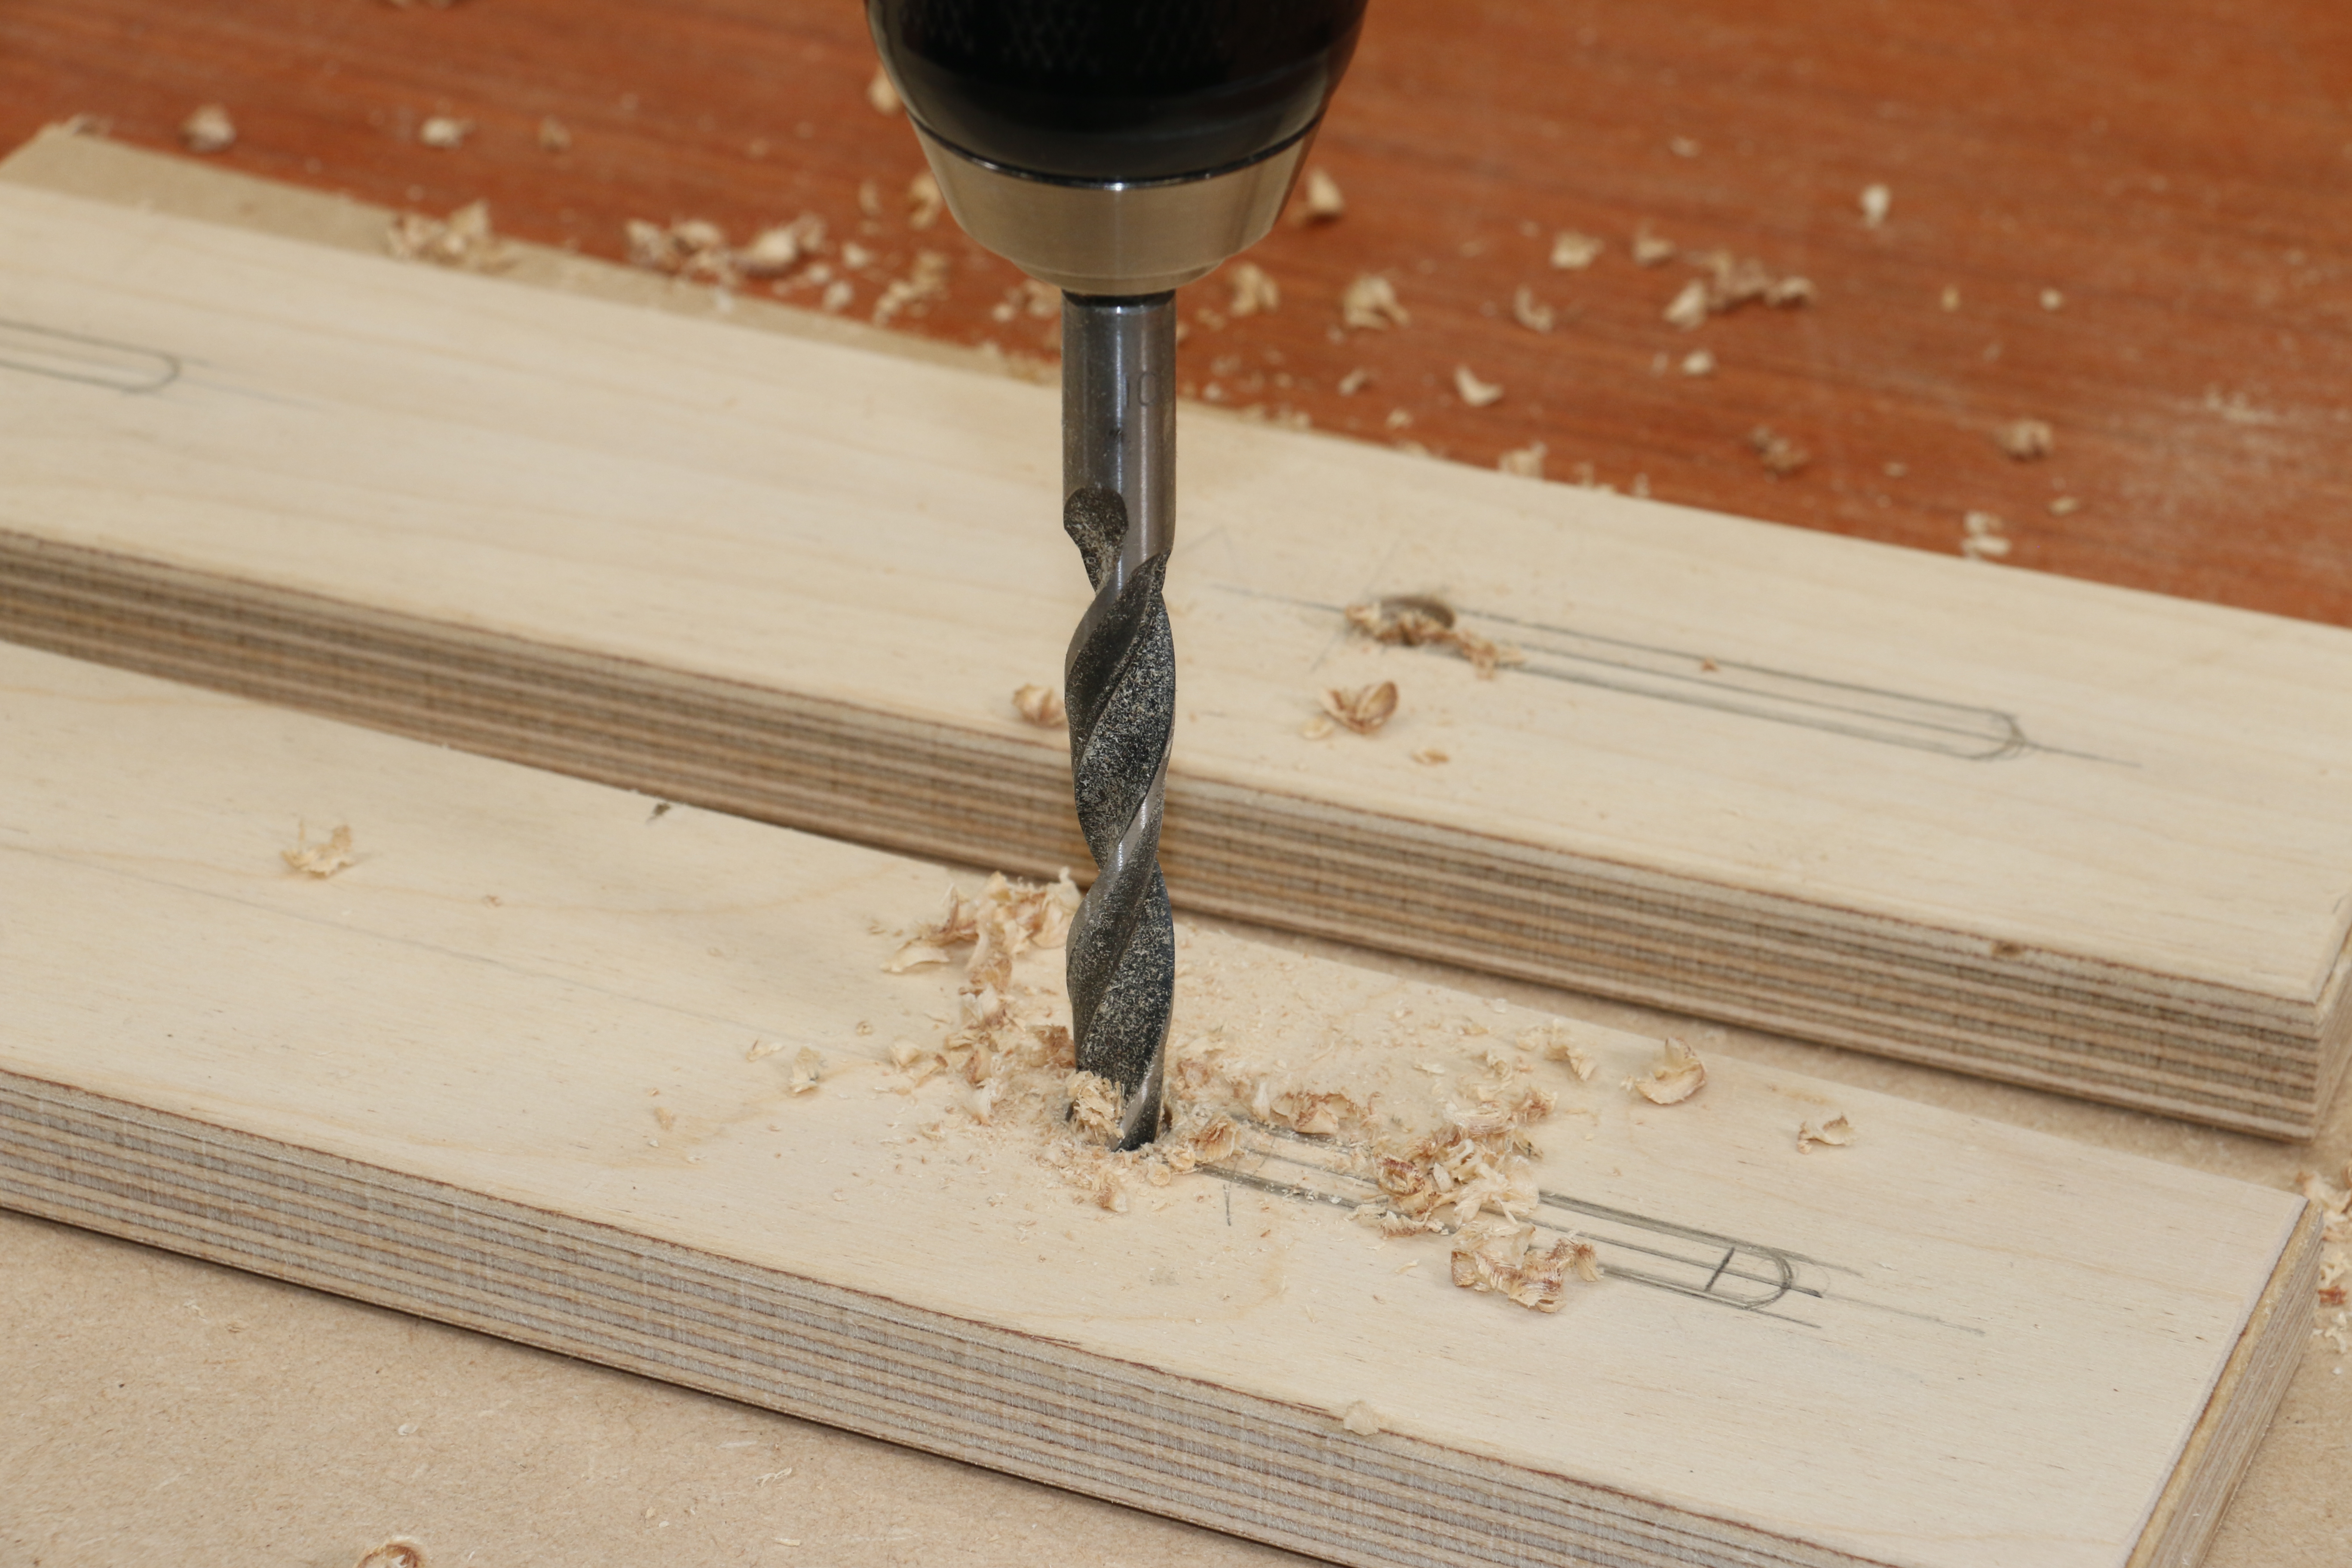
Drill a suitable diameter hole to match the insert being used.
A lip and spur bit leaves a clean hole and centralises the hole easily.
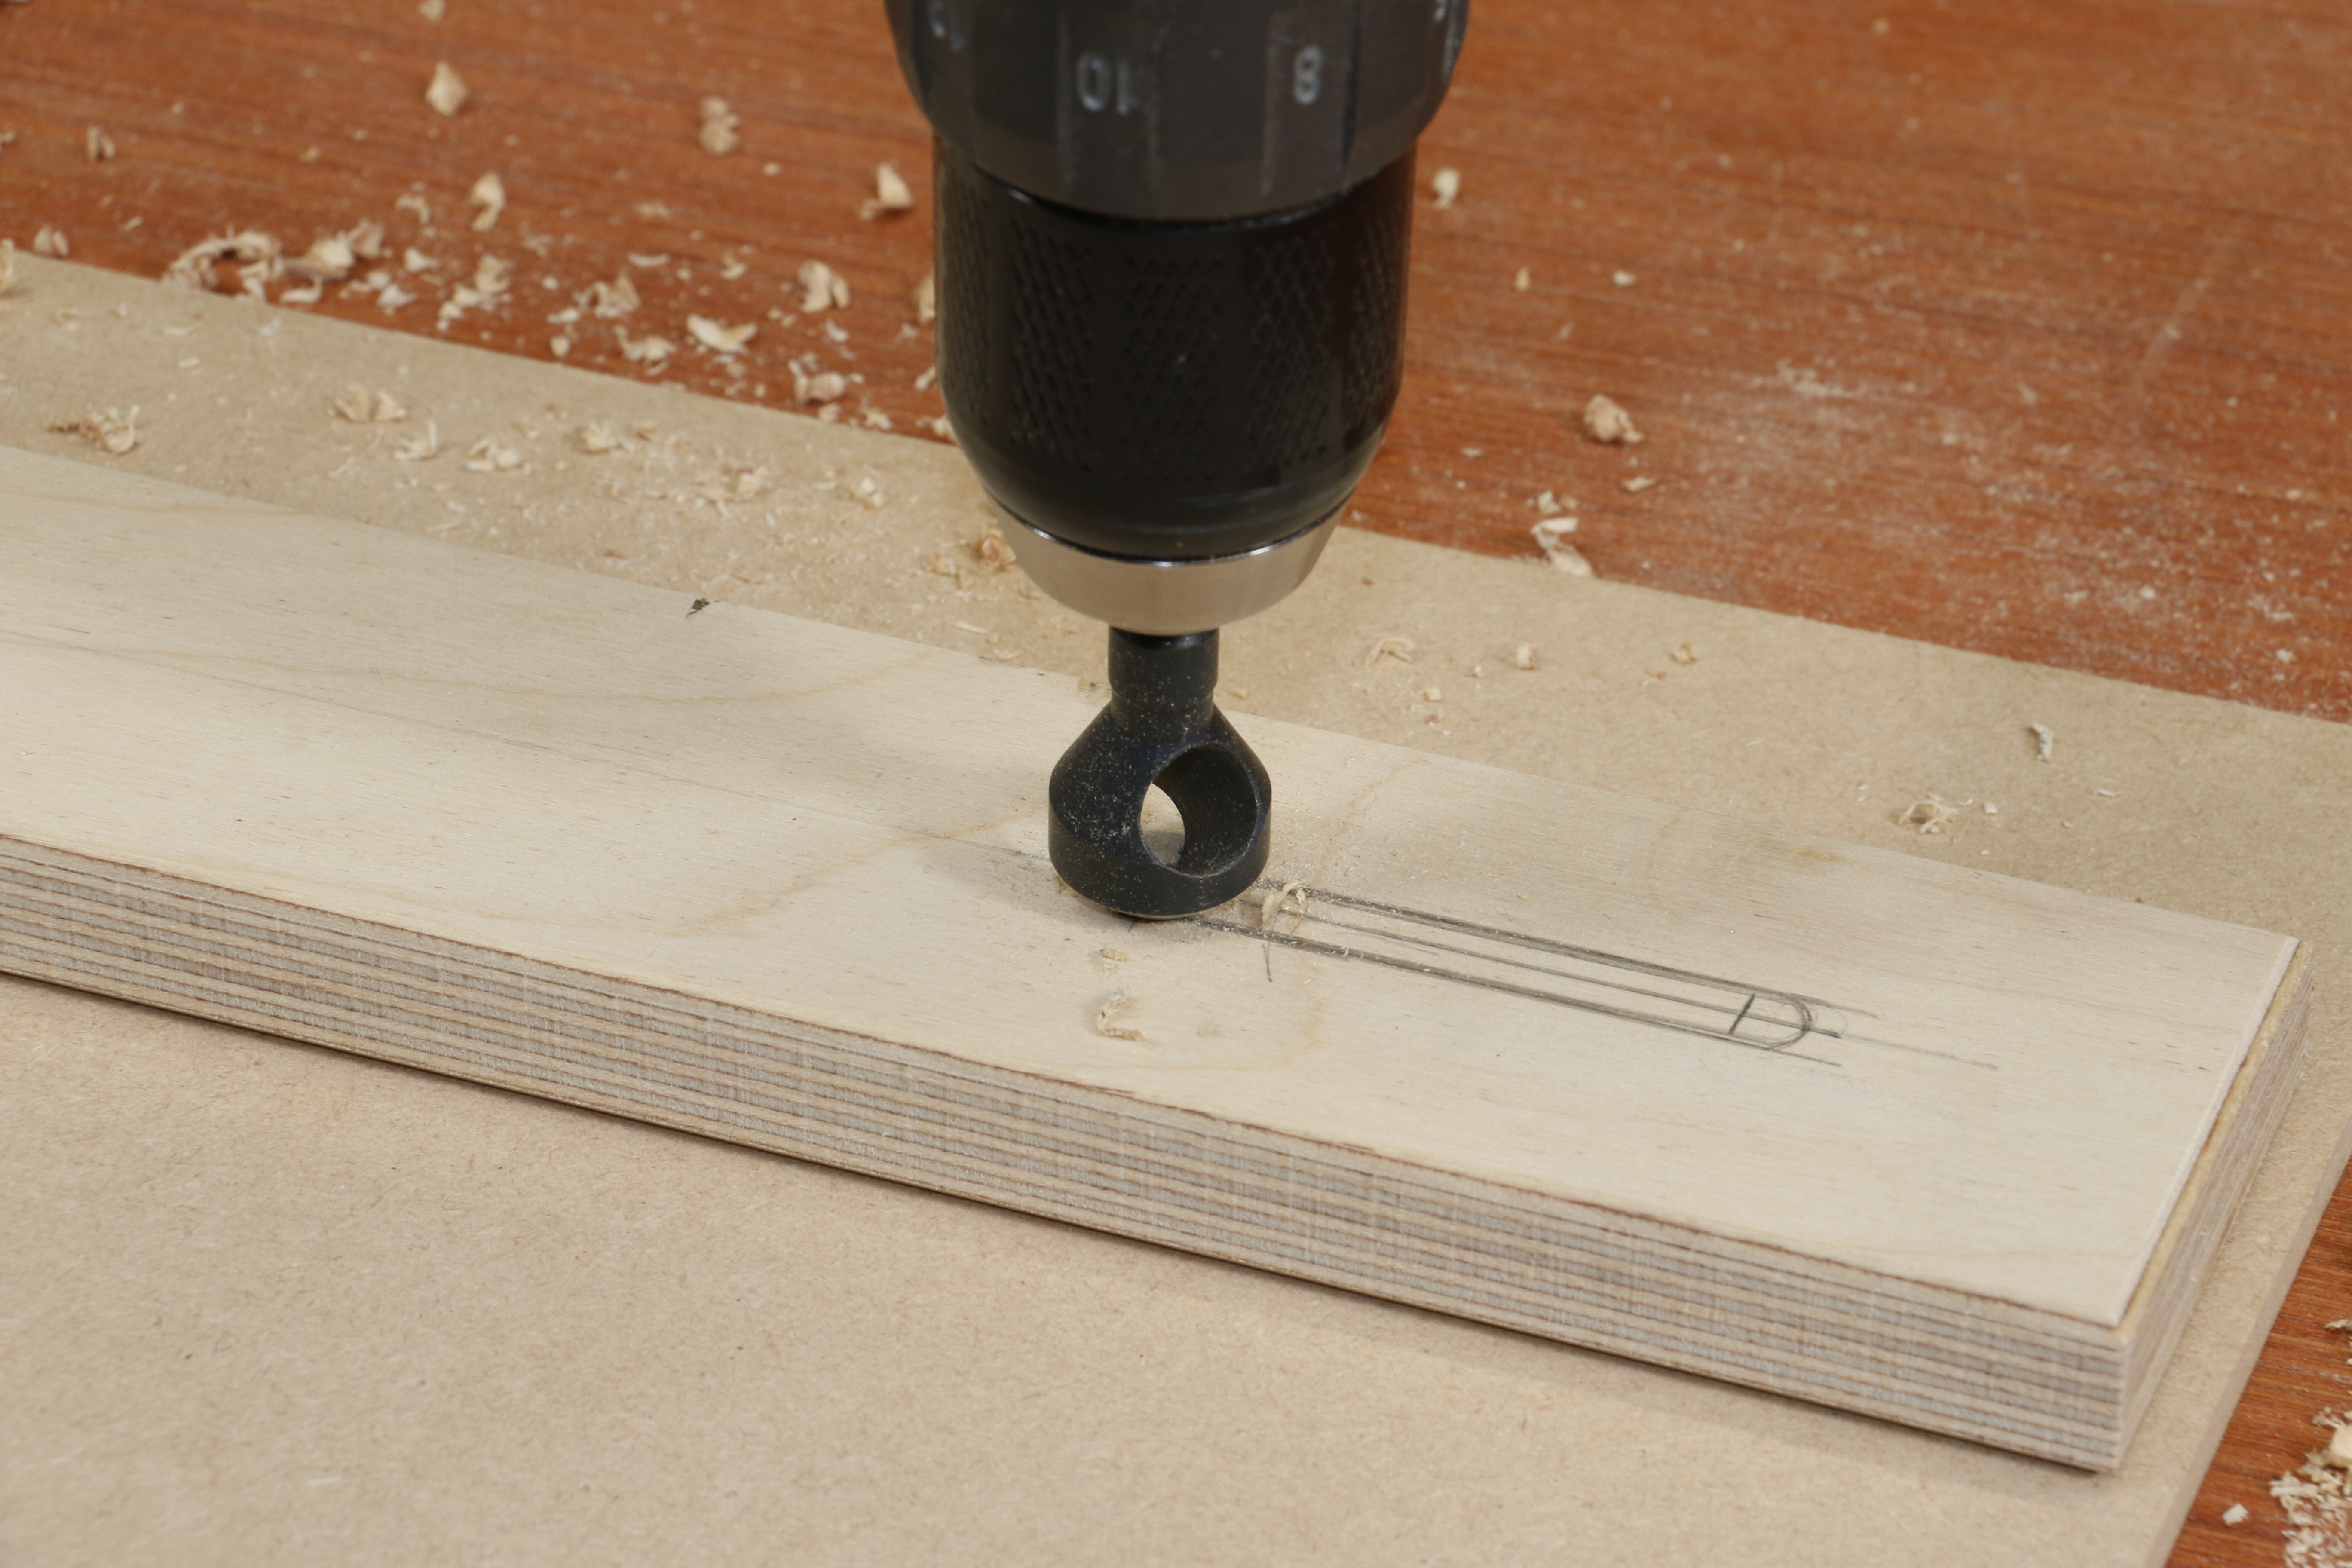
Countersinking the holes allows the inserts to sit flush to prevent any splintering or breakout.
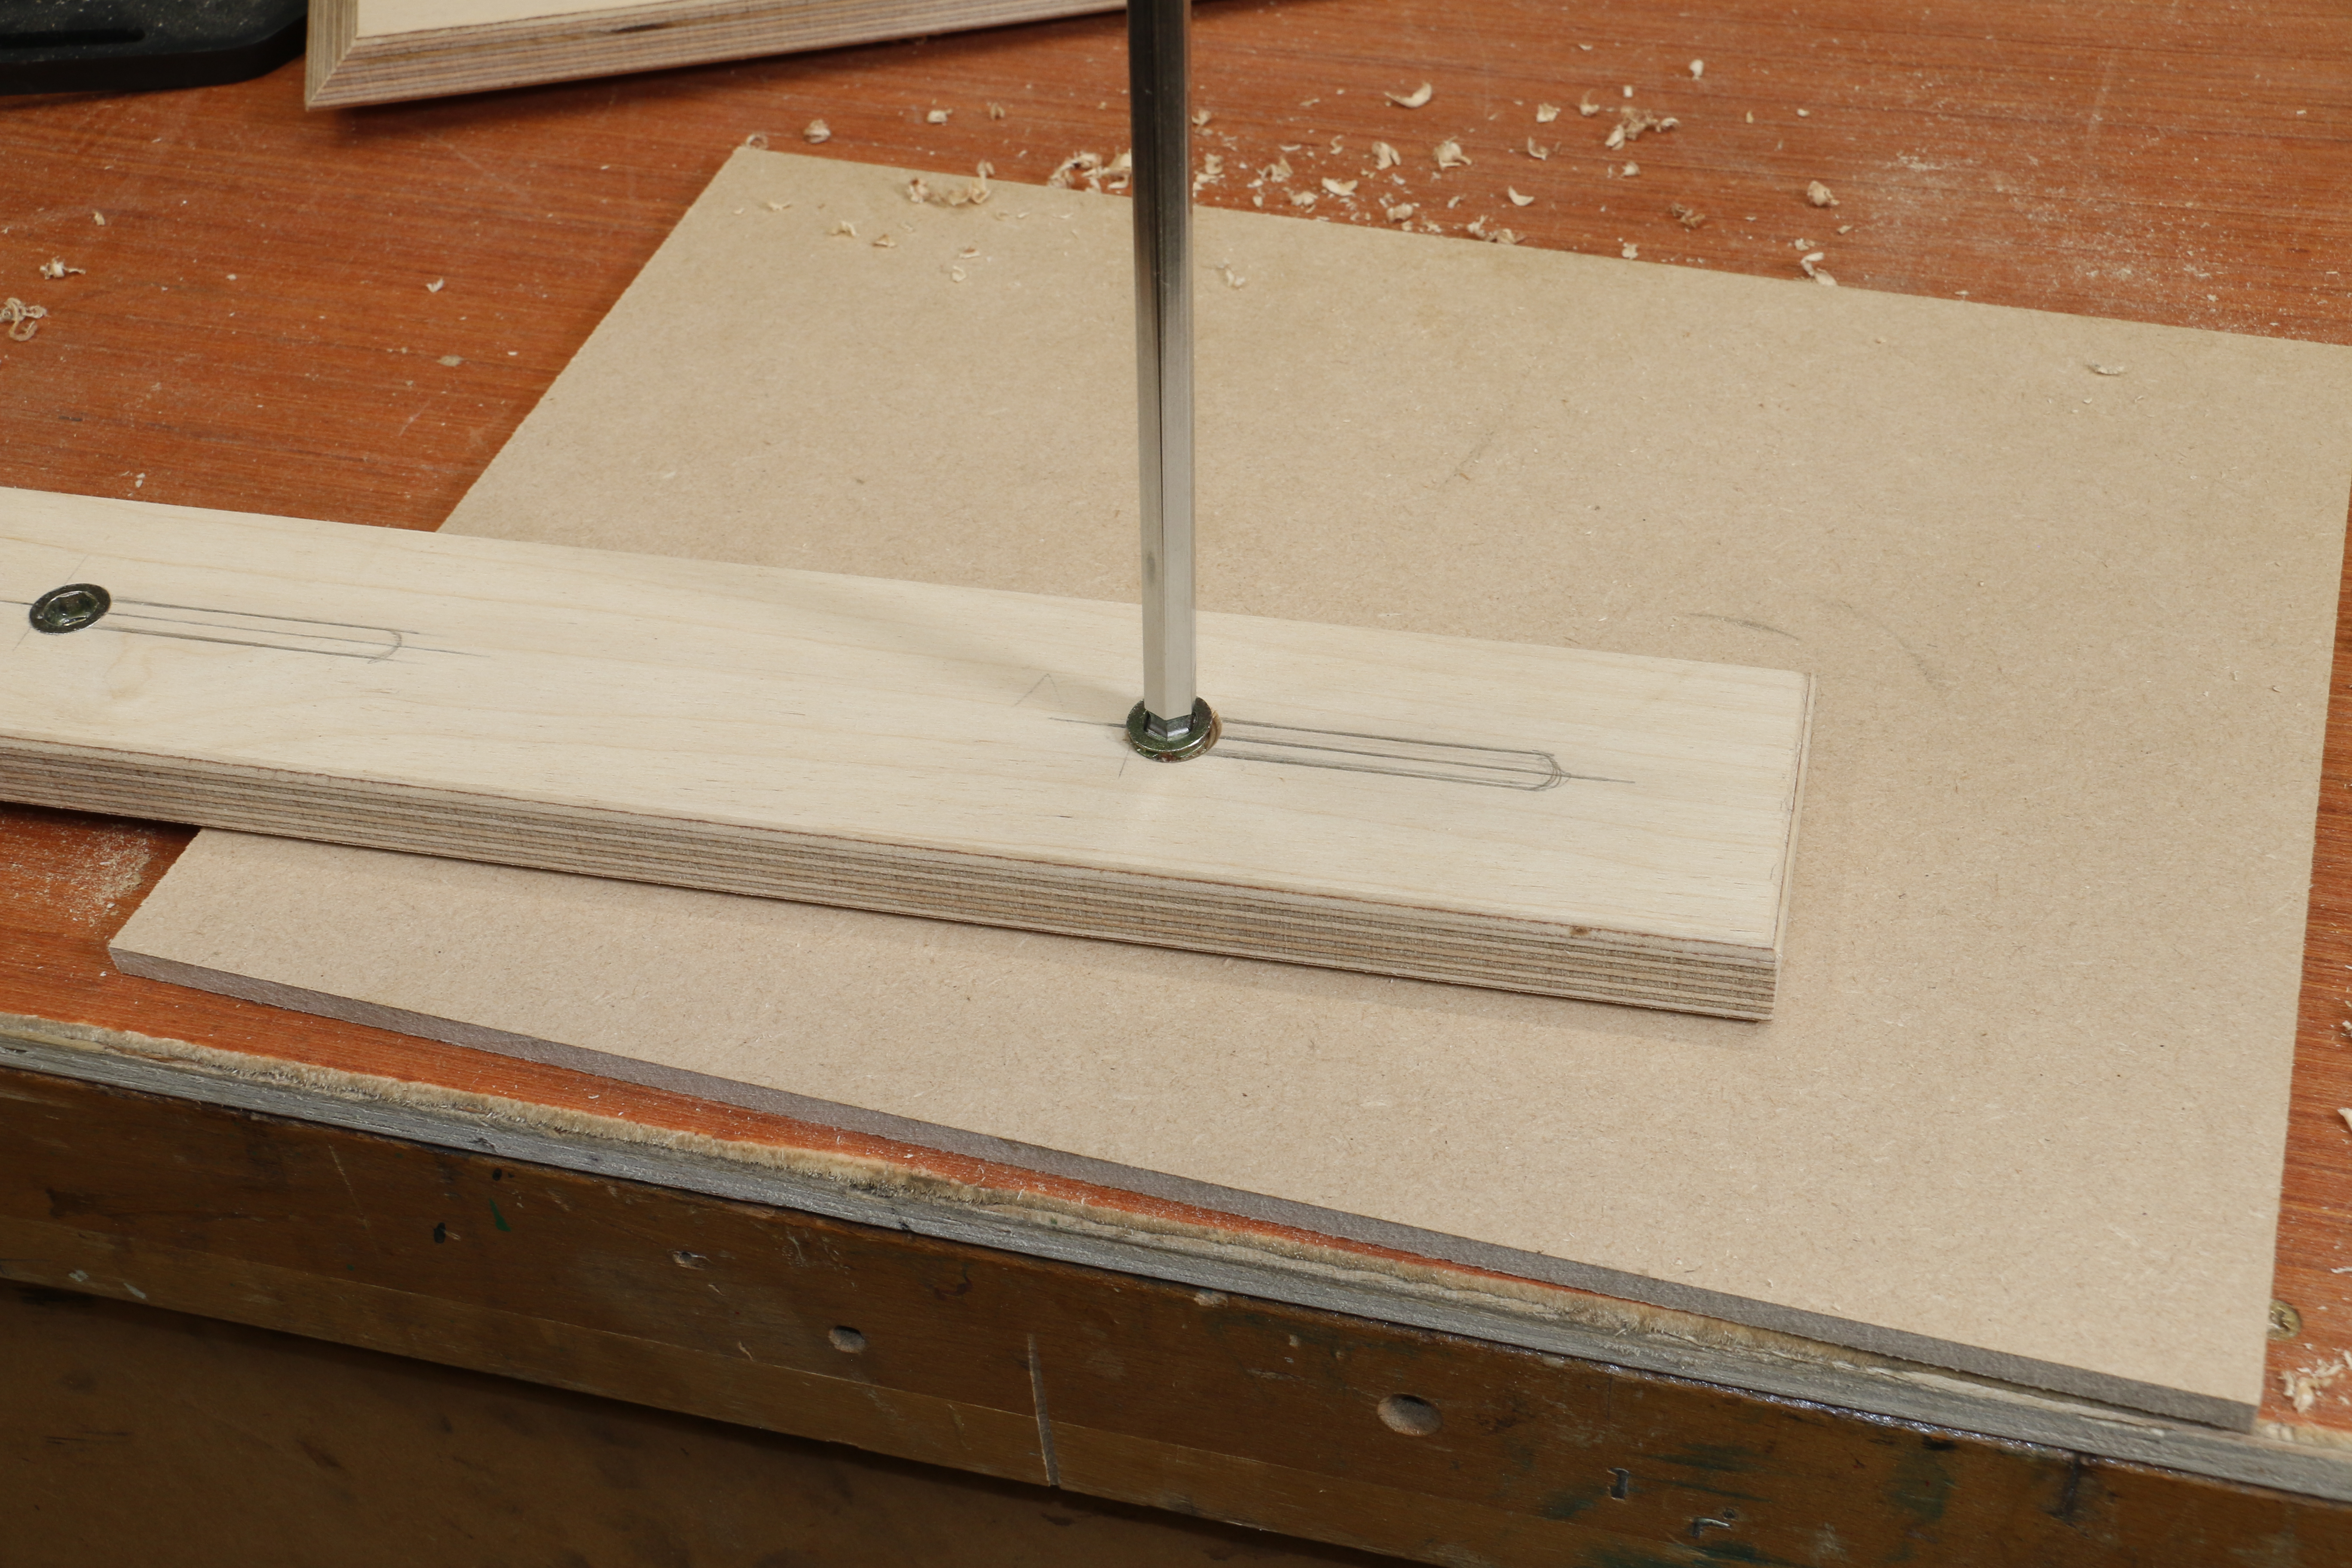
Run each insert fully home until they sit flush or slightly below the surface.
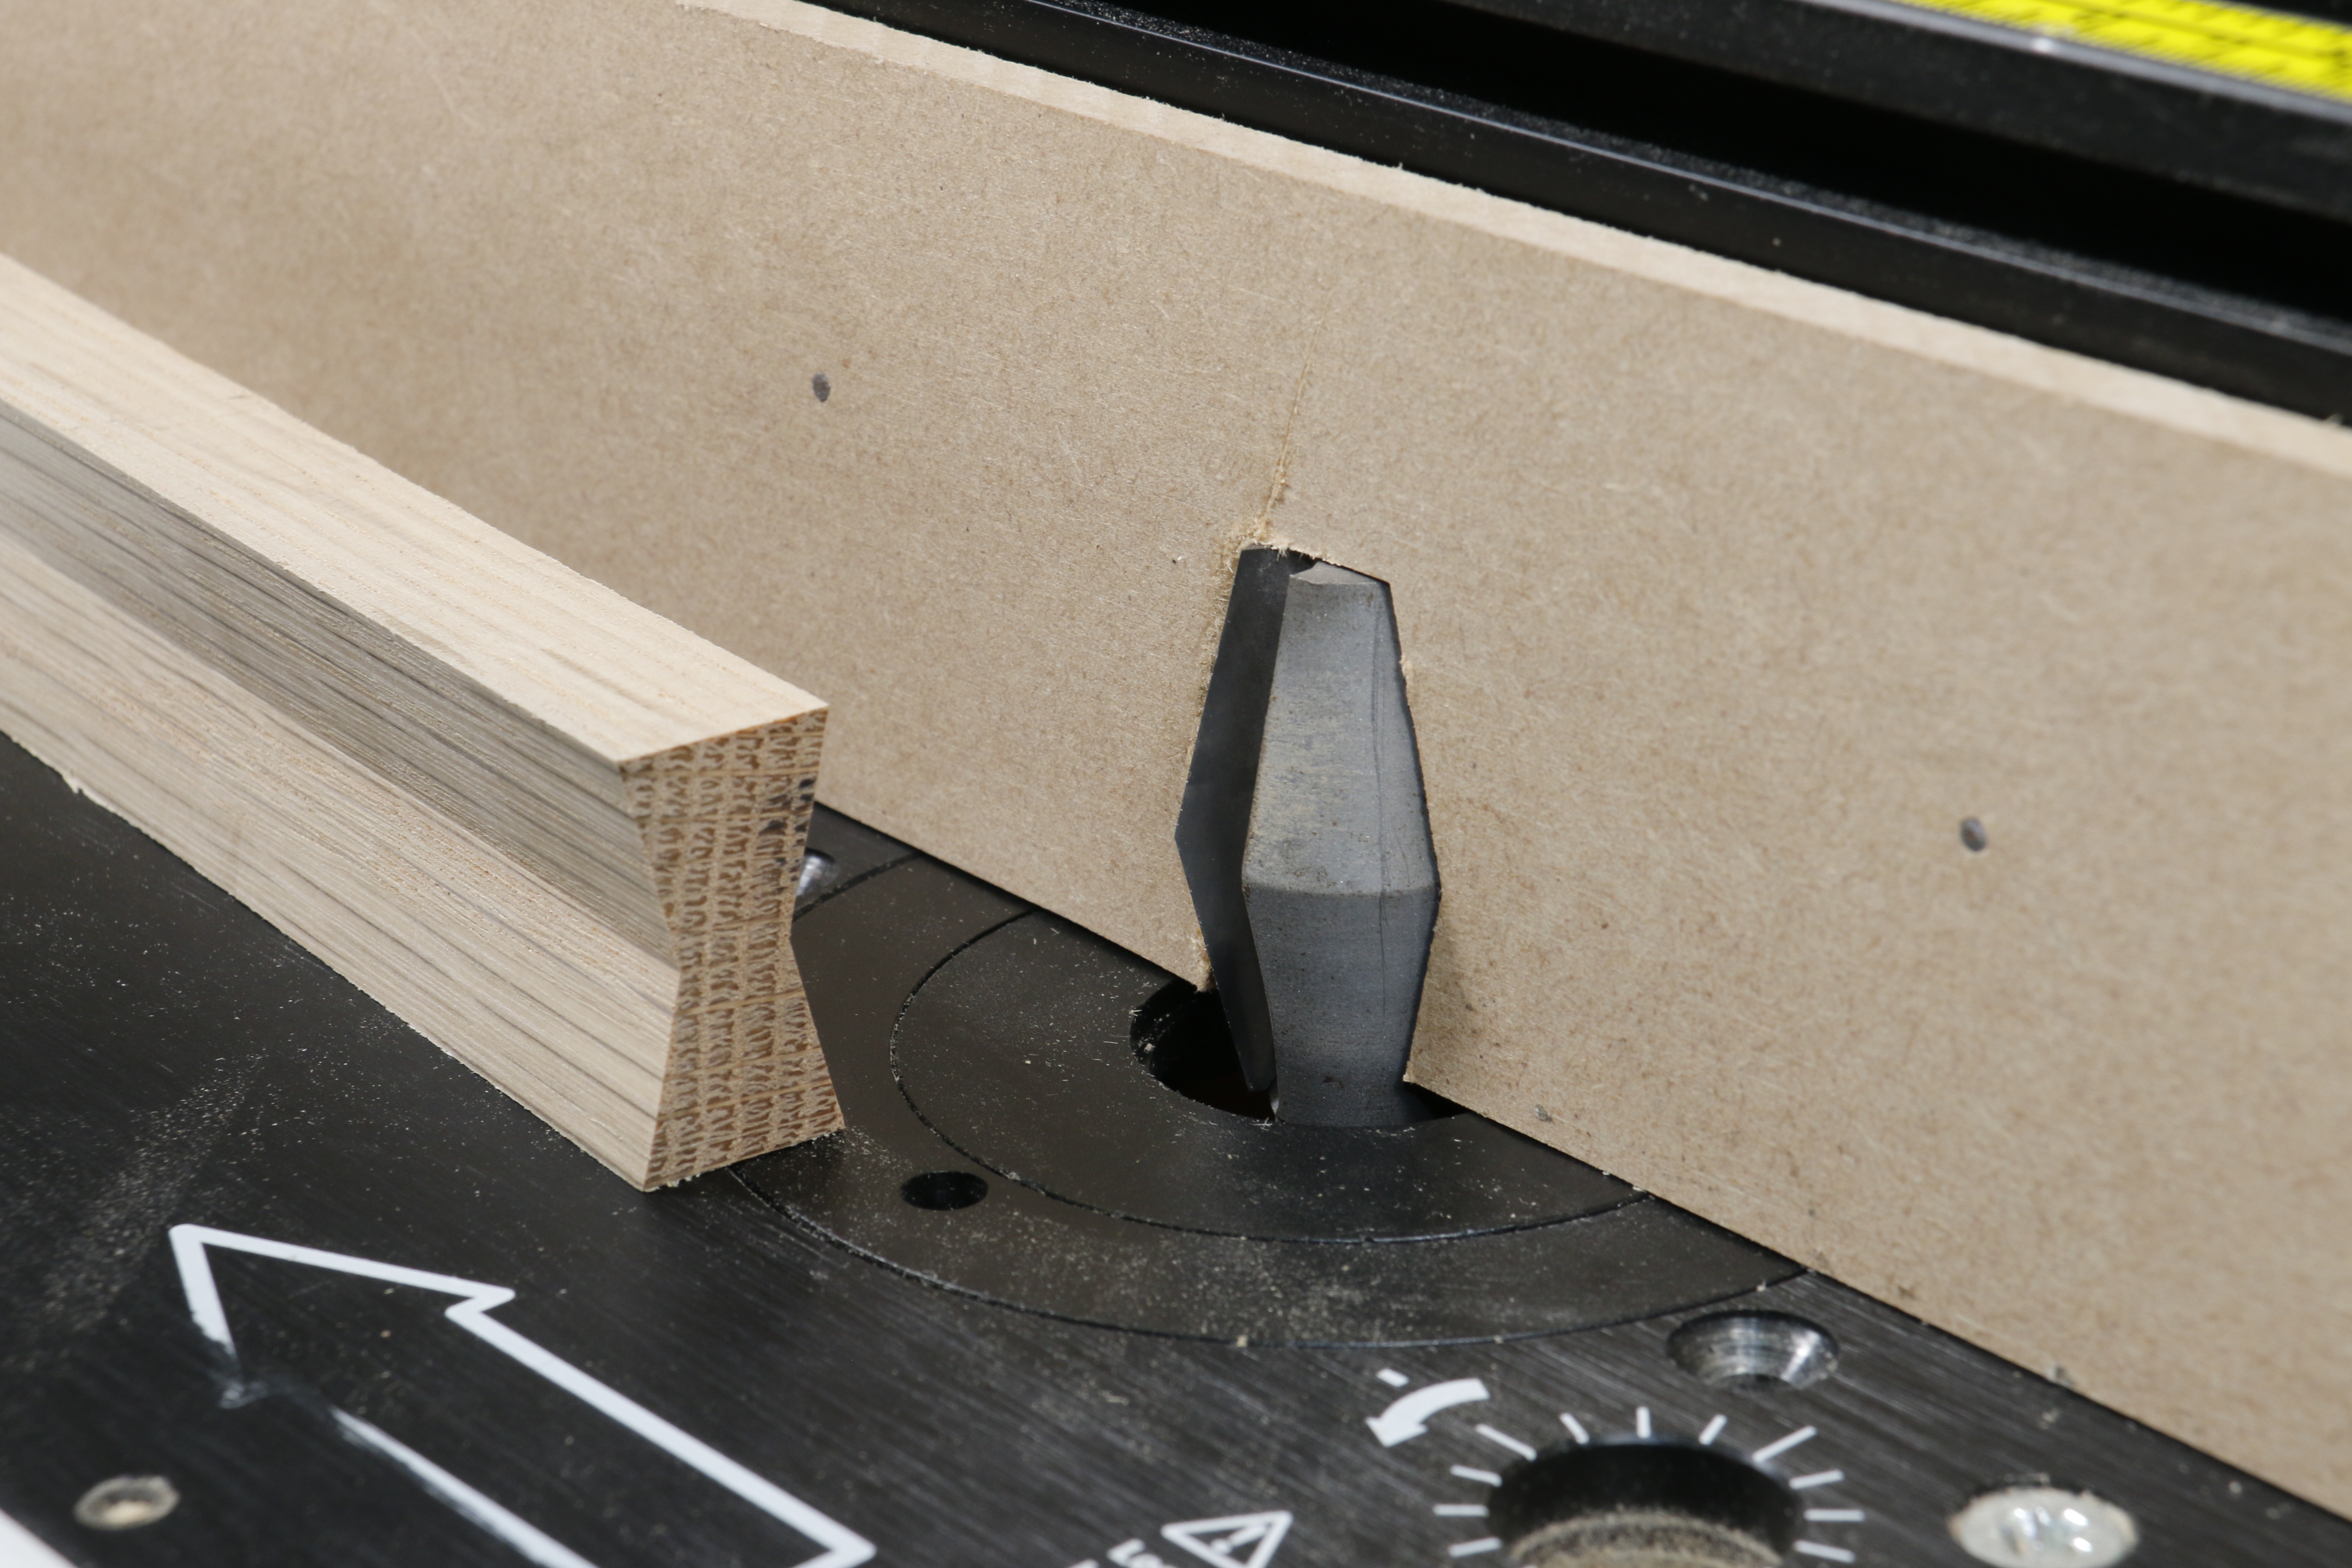
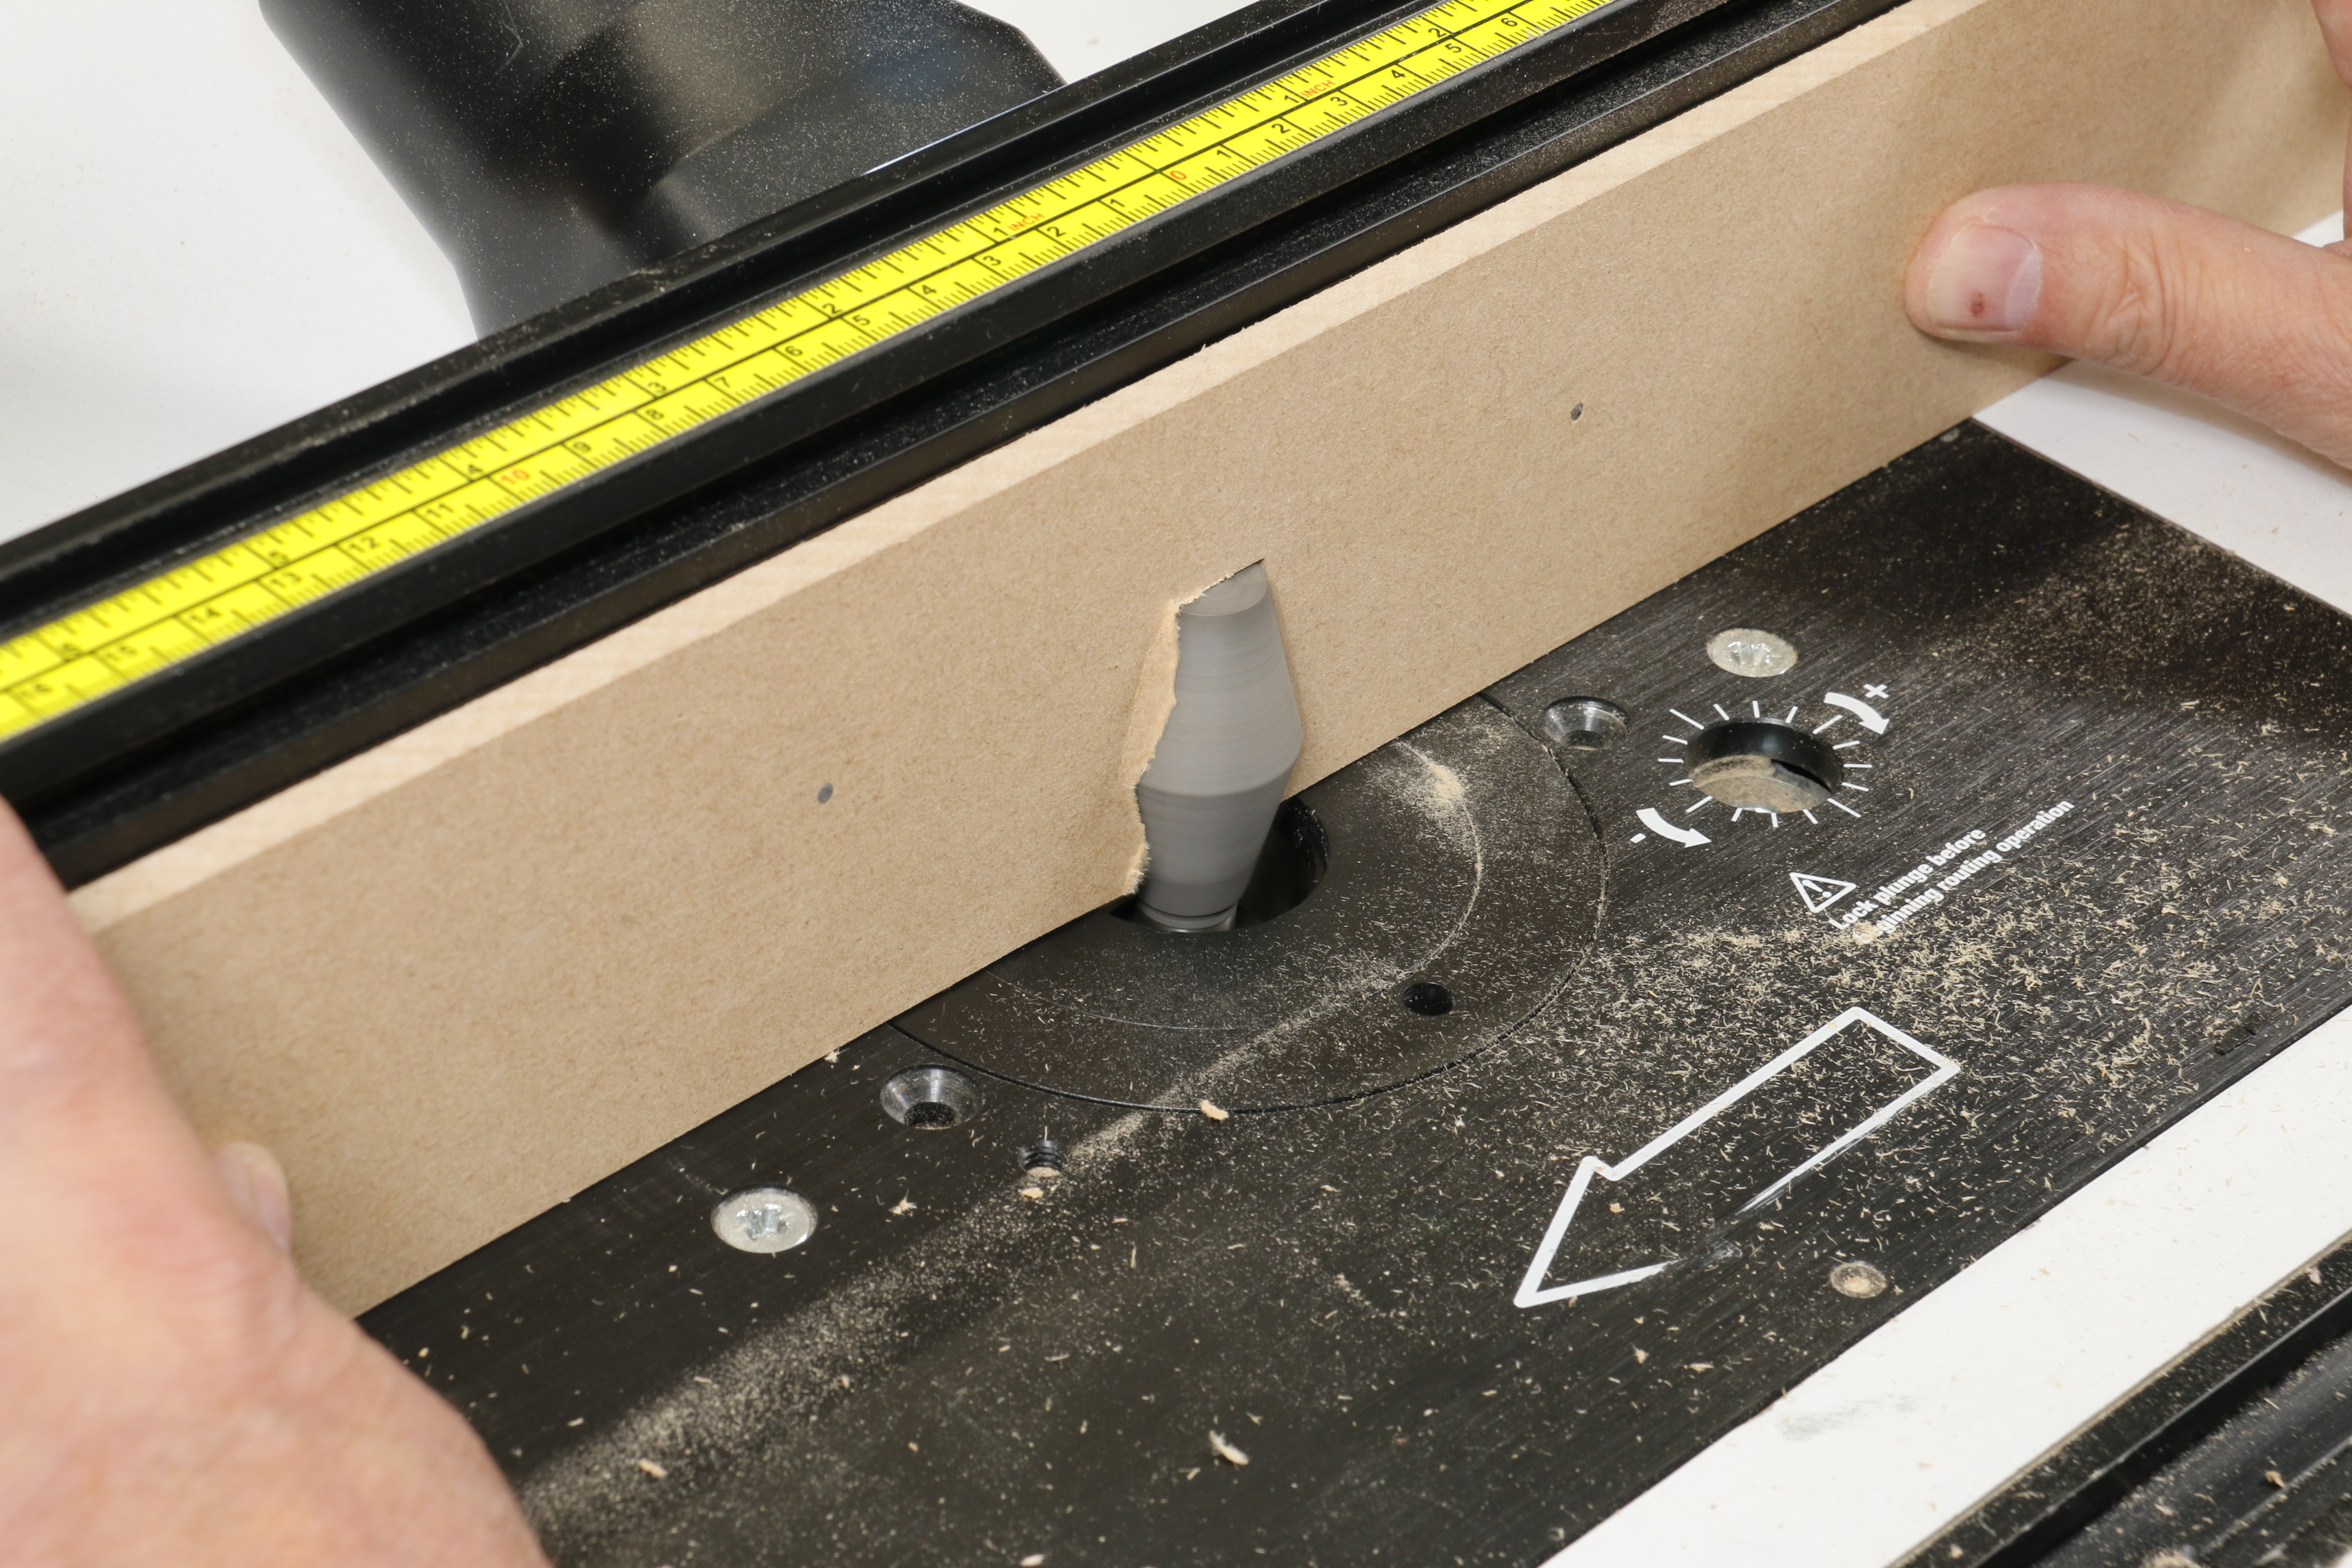
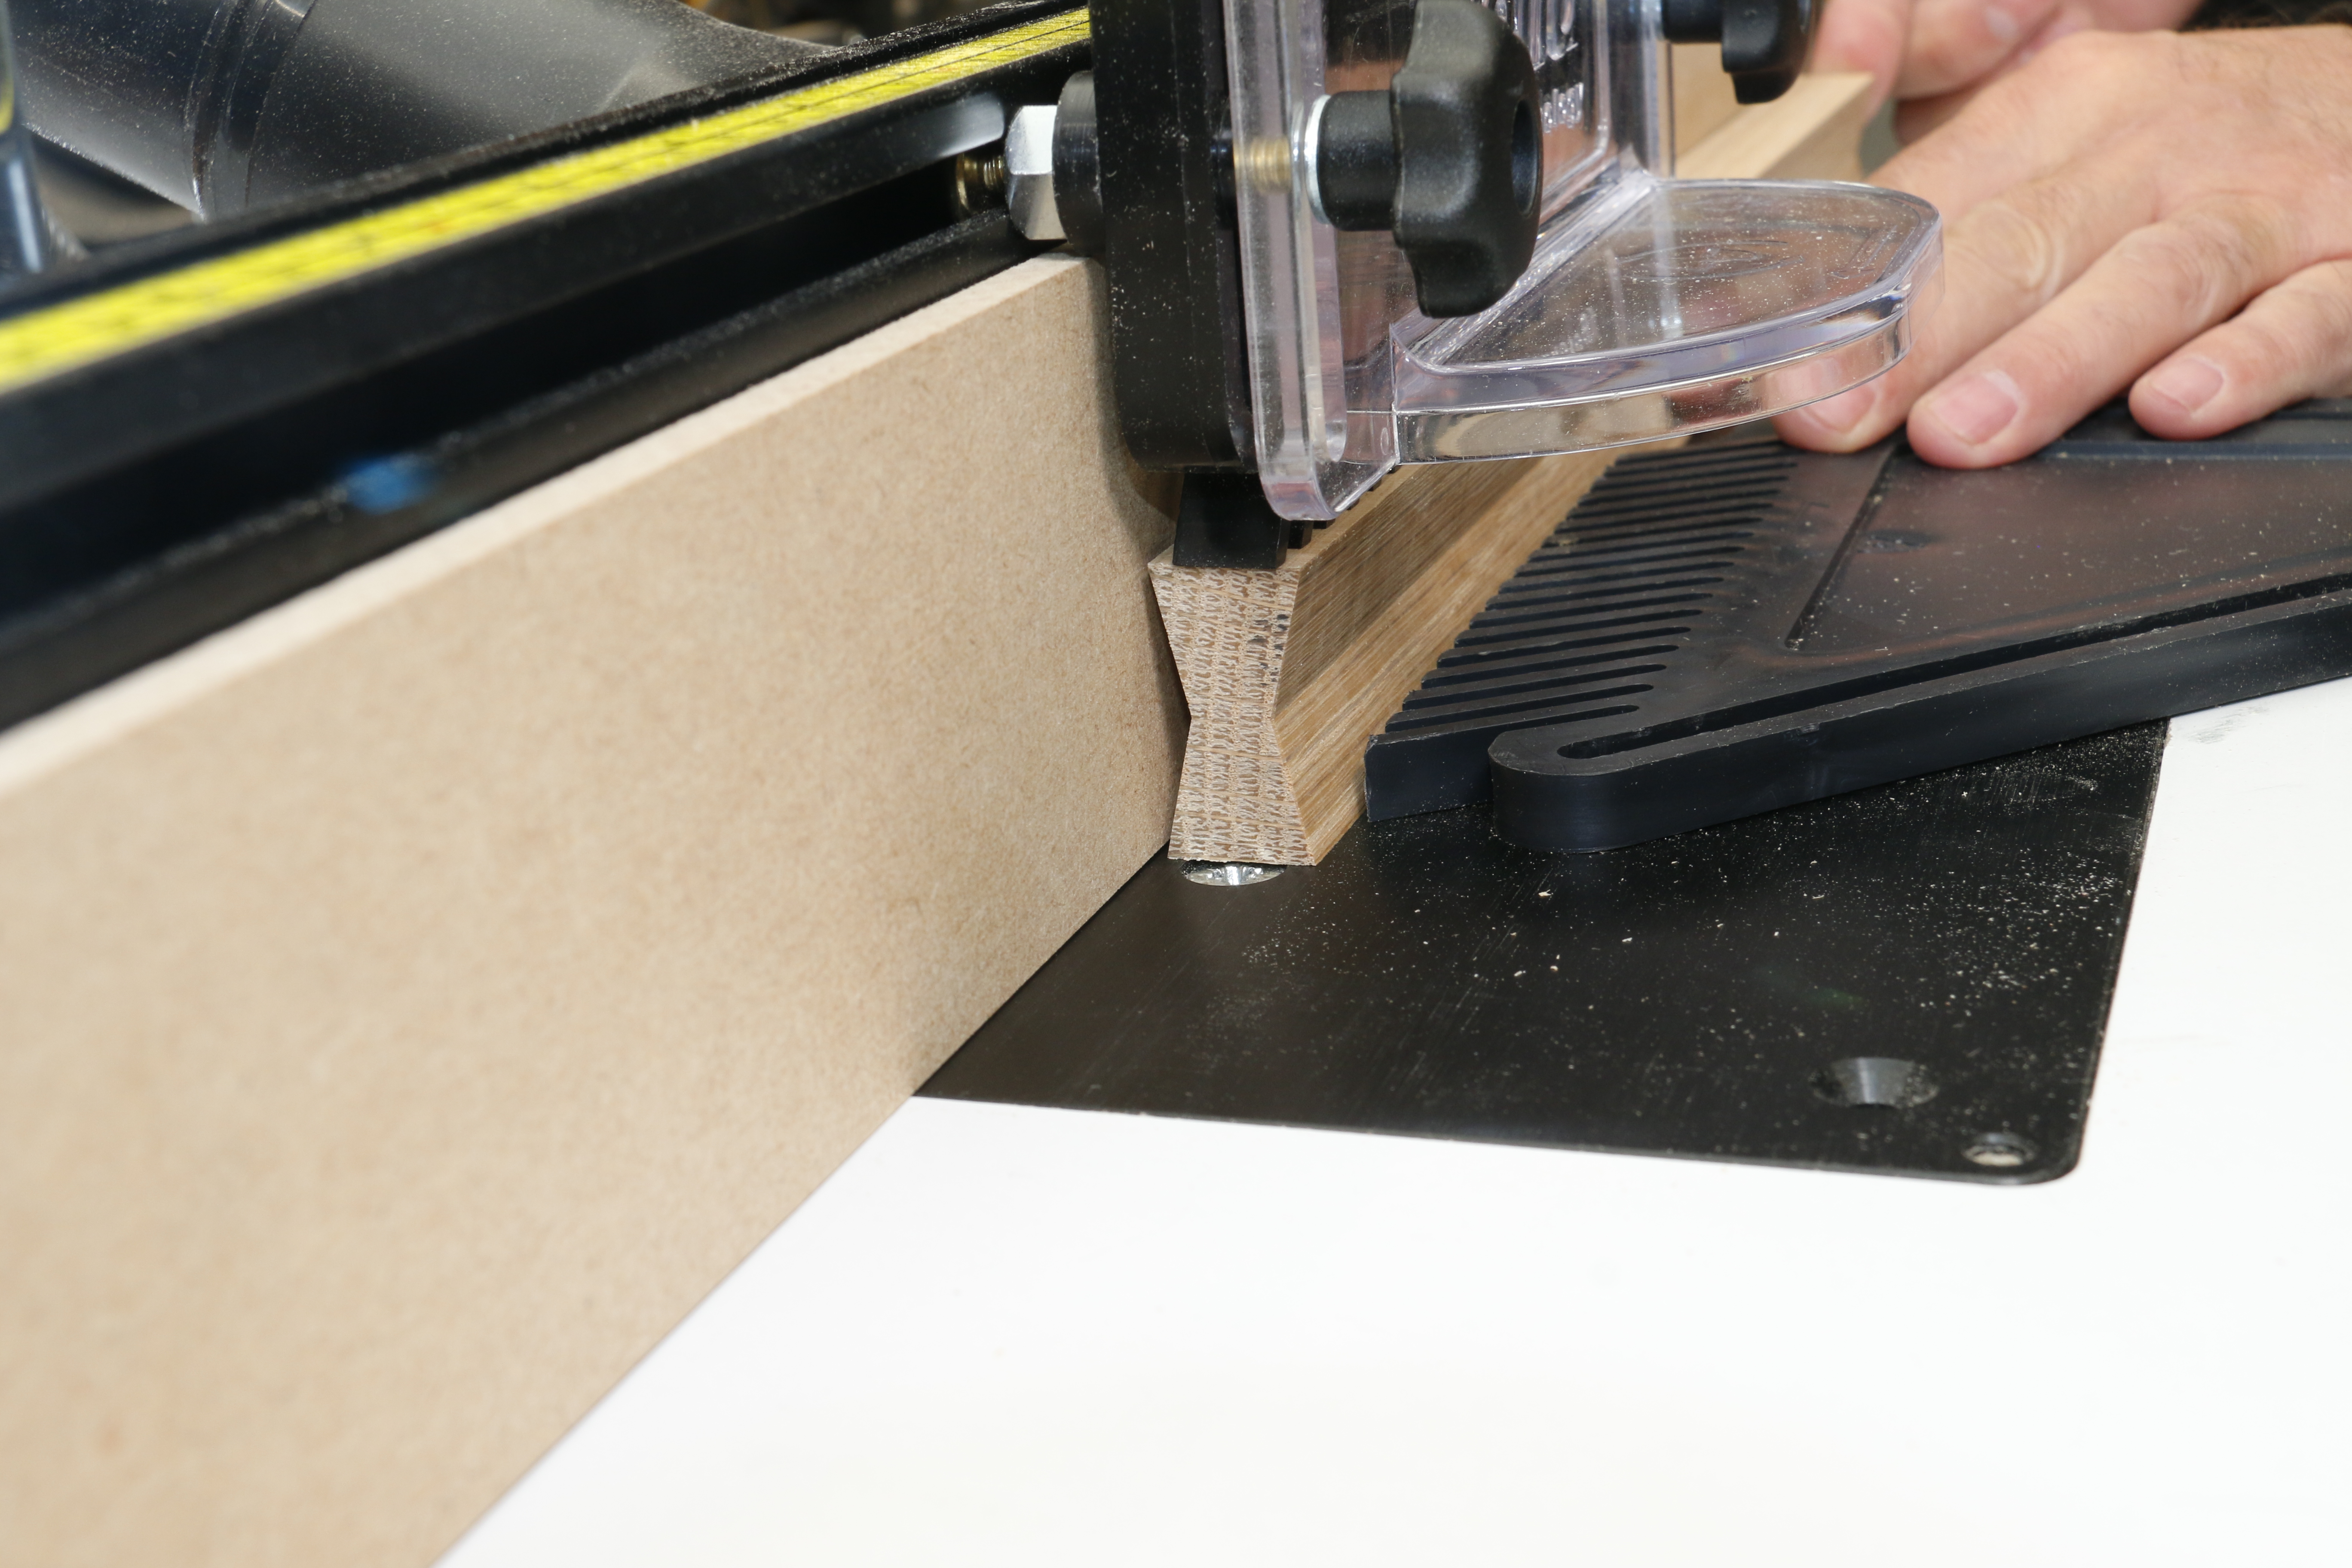
Fit the facings using the knobs and lock in the cutter you require and open the fence facings wide enough to allow the cutter to move through without hitting them. Rip a strip of thin material such as 6mm MDF for the fence facing.
Bring the fence forwards so that the cutter is completely behind the facings and tack the false fence to them. Screws can also be used but ensure there are now protrusions of screw or pinheads so that the work can transfer across freely.
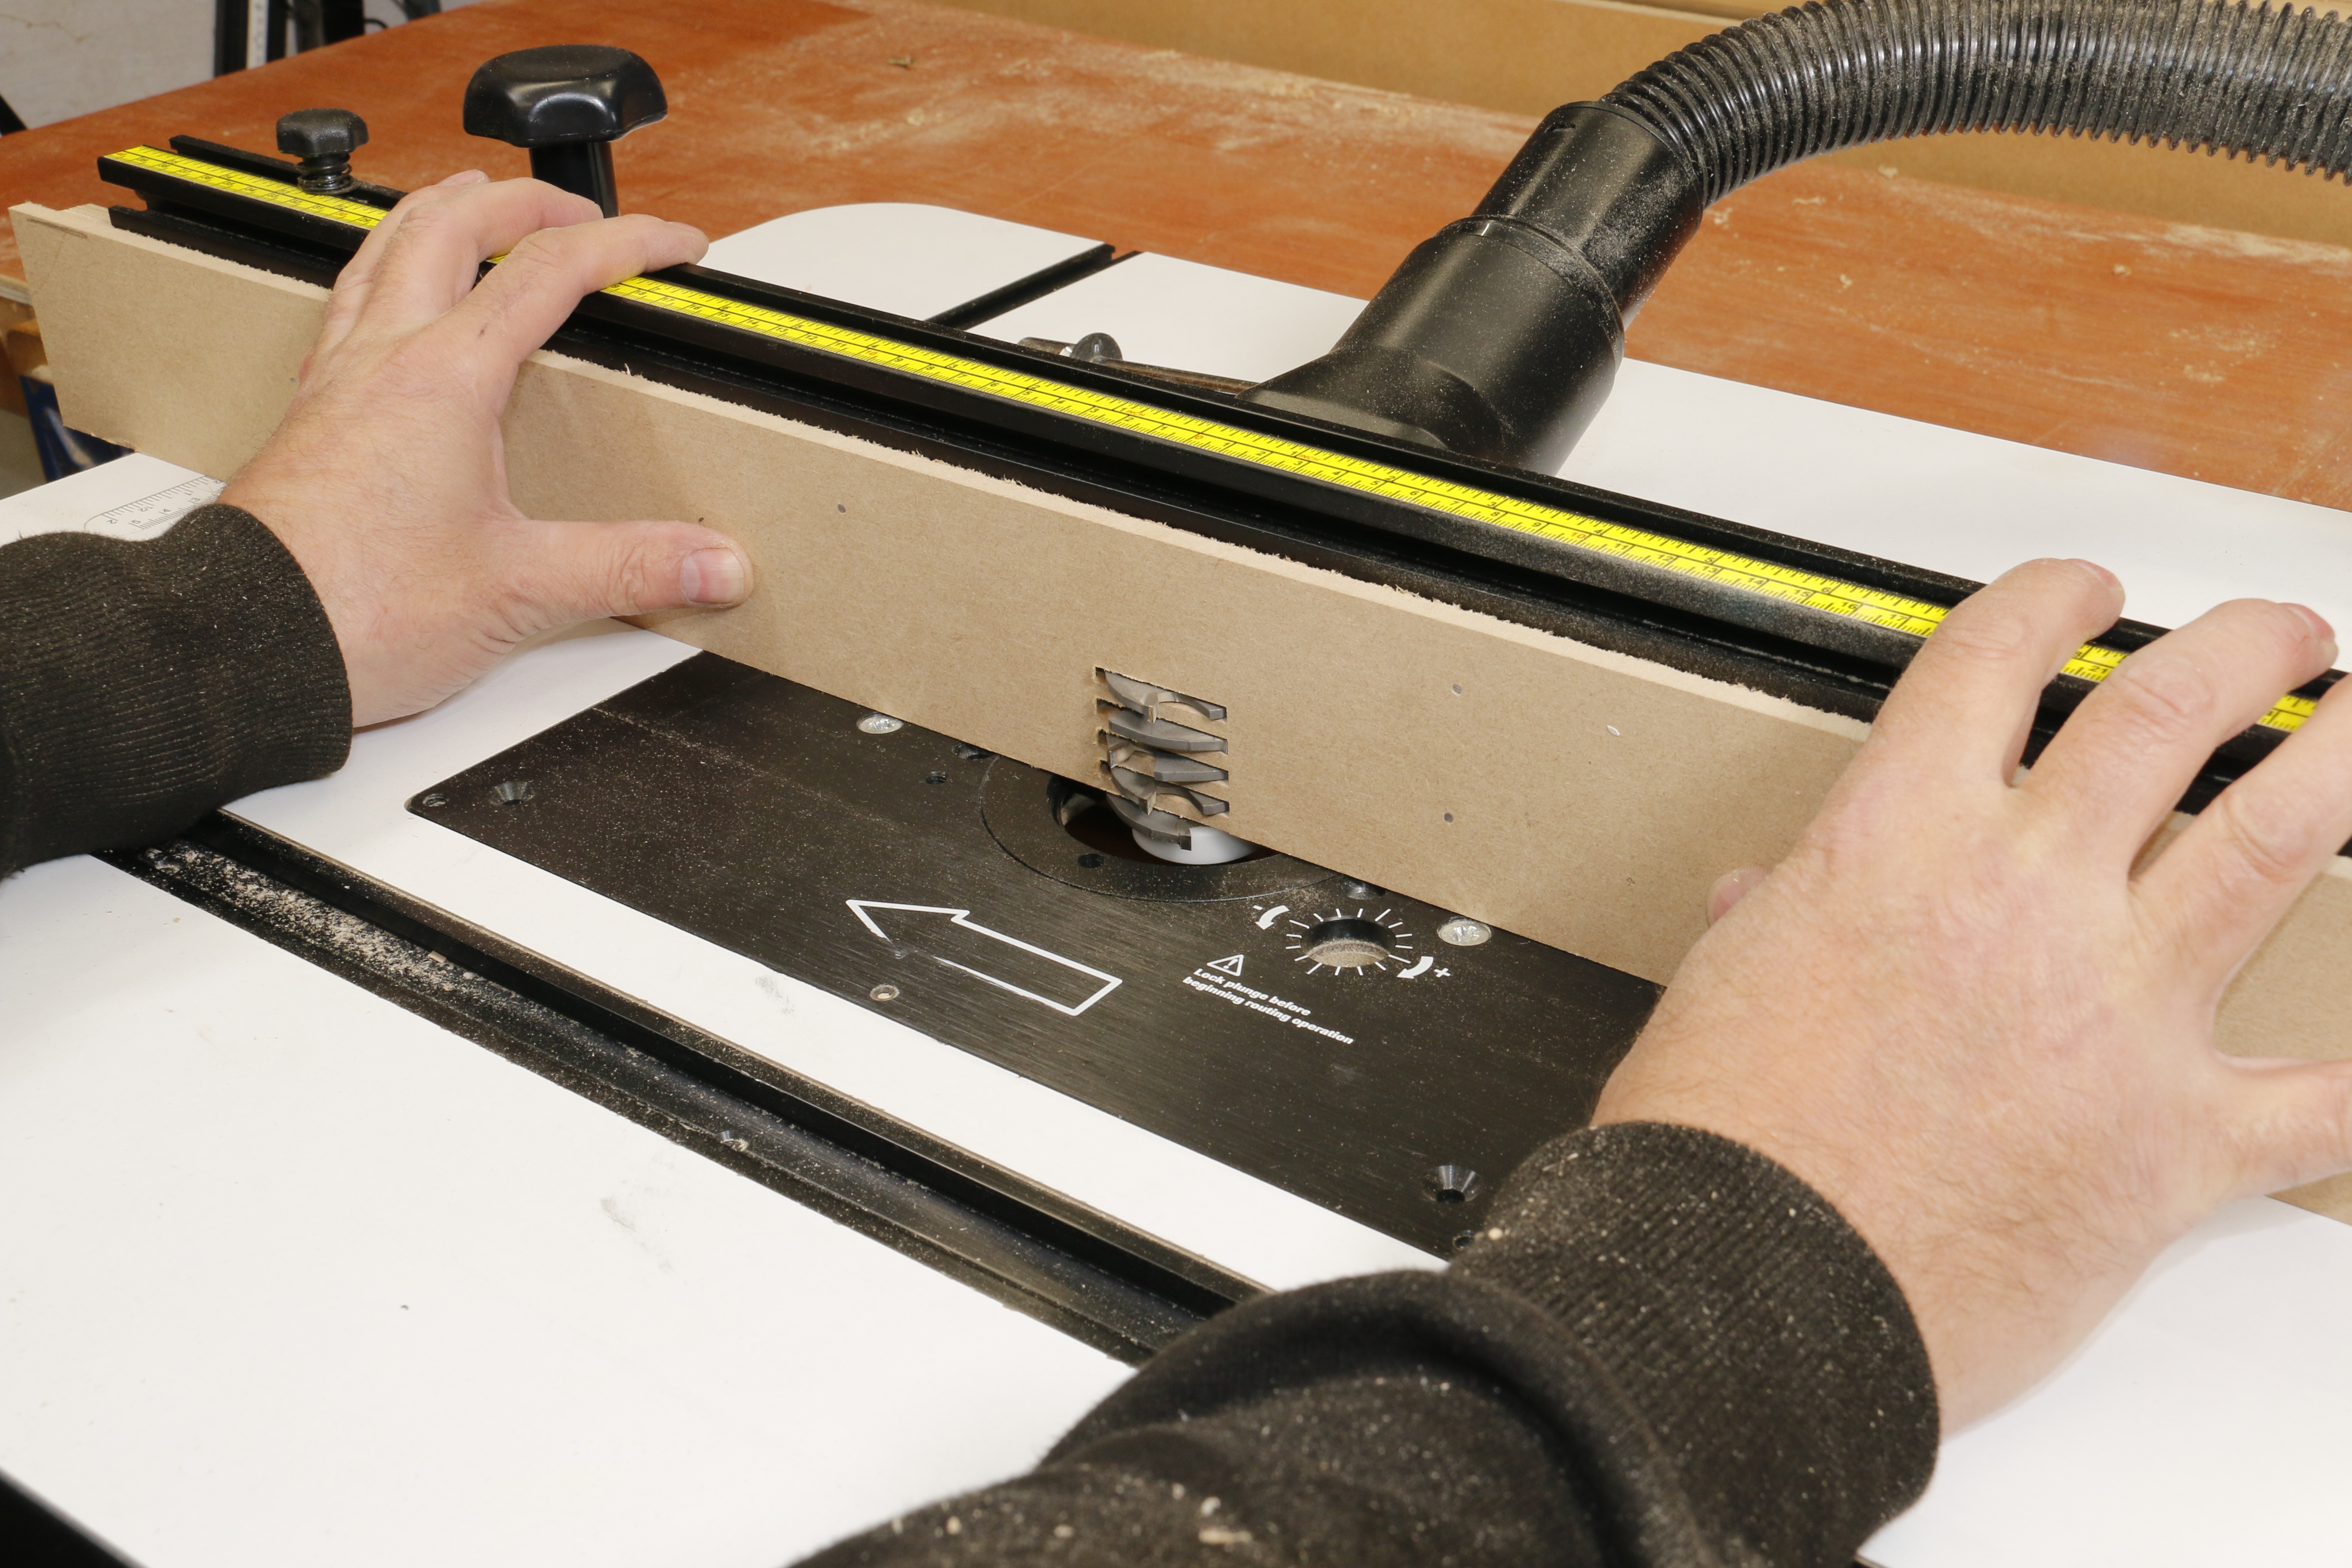
Keeping your hands well away from the cutter area, start the router and slowly move the fence back until the cutter breaks through to the desired projection.
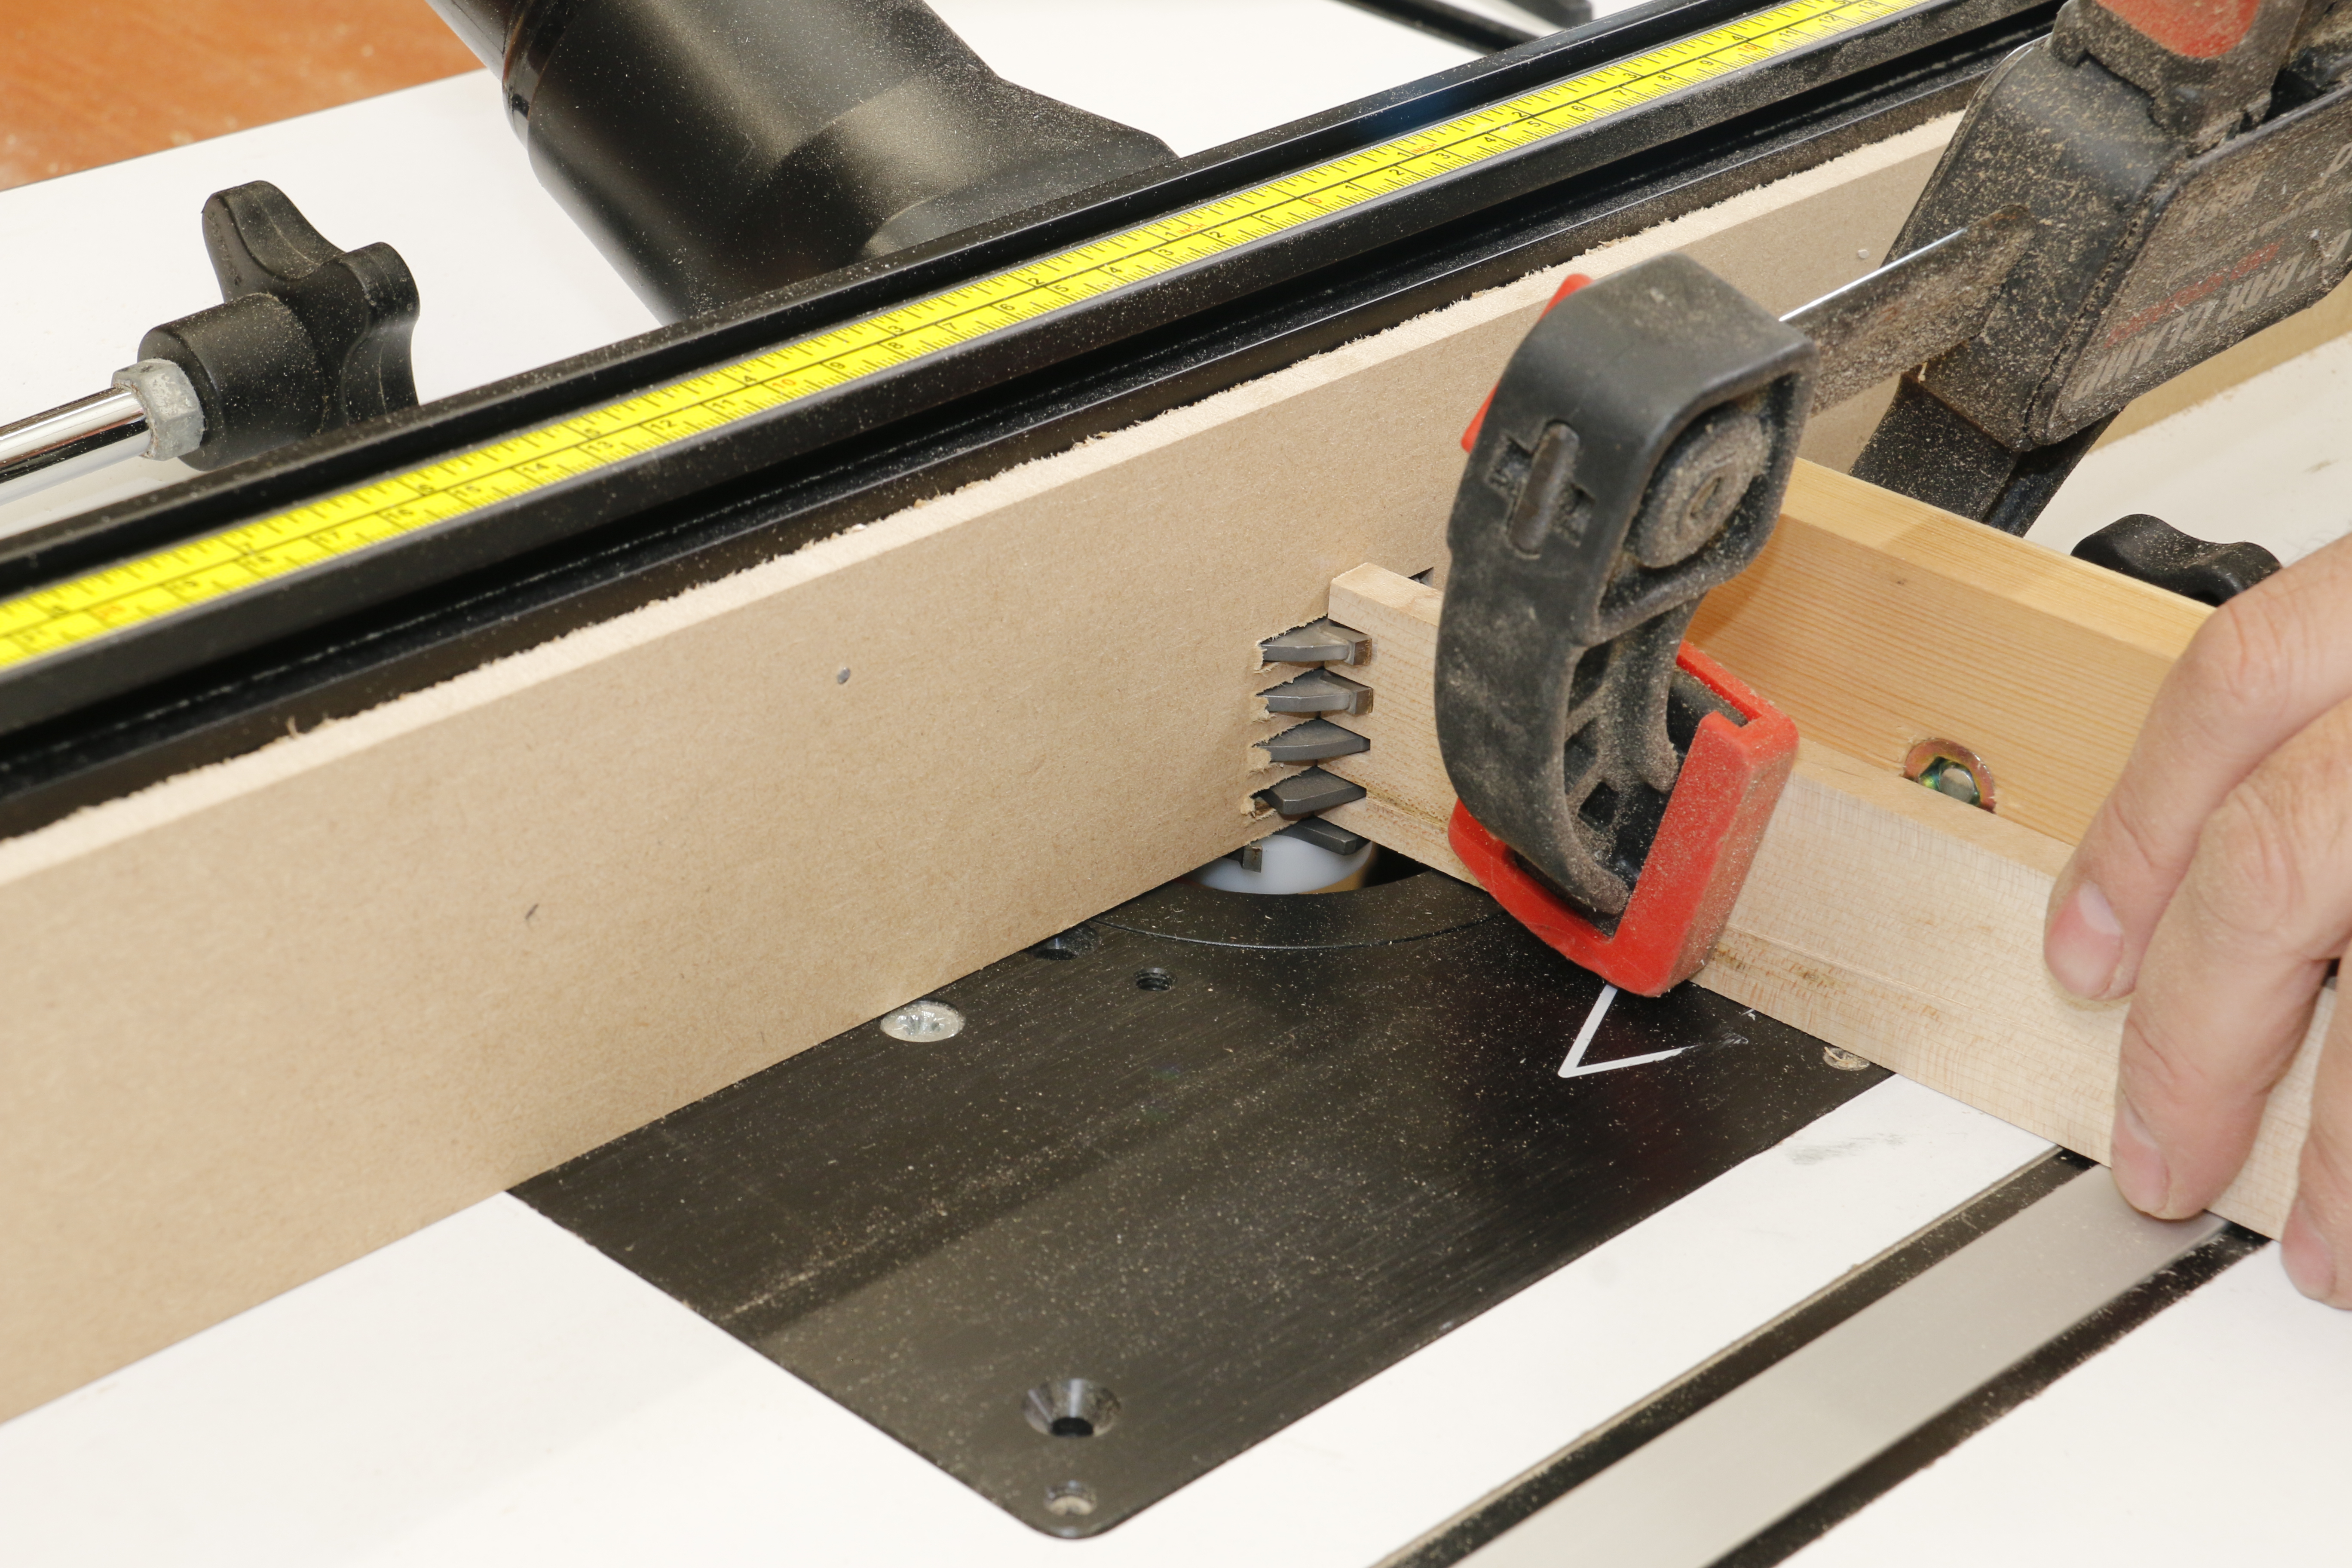
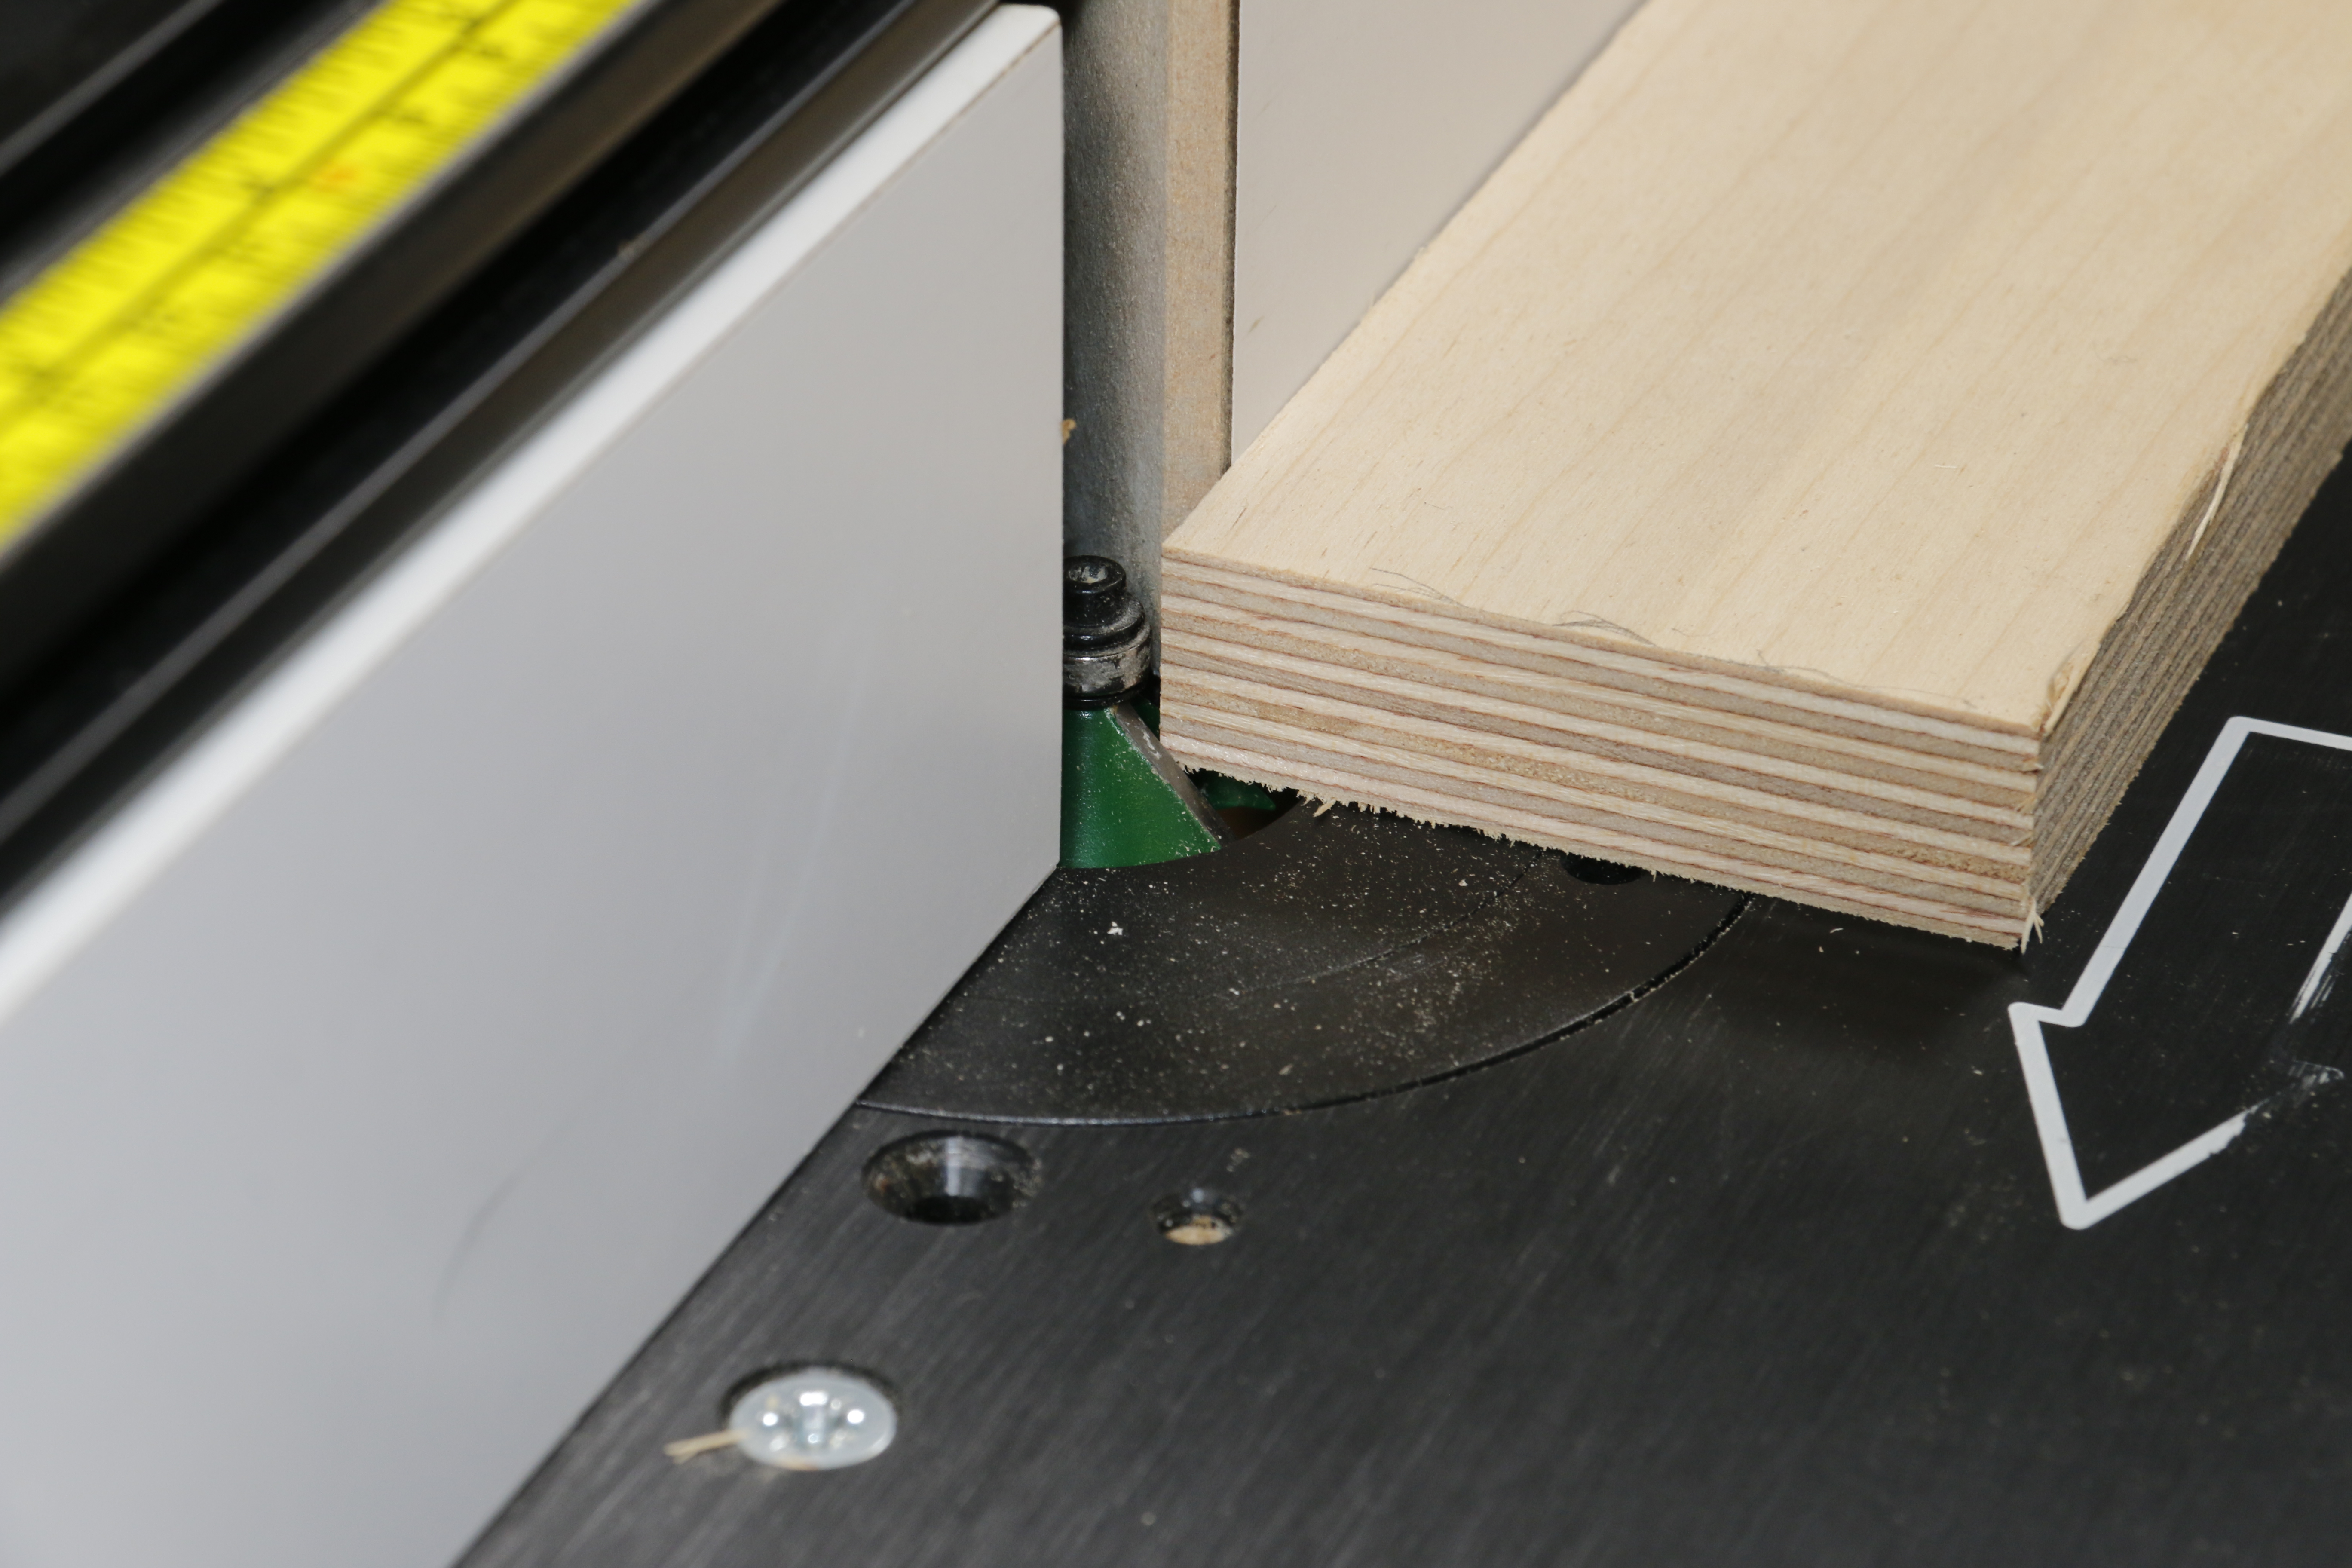
The false fence can be used for cross grain cuts for easy transitions and prevent work from slipping into the cutter aperture.
The false fences can be swapped for new ones when a different cutter is being used.
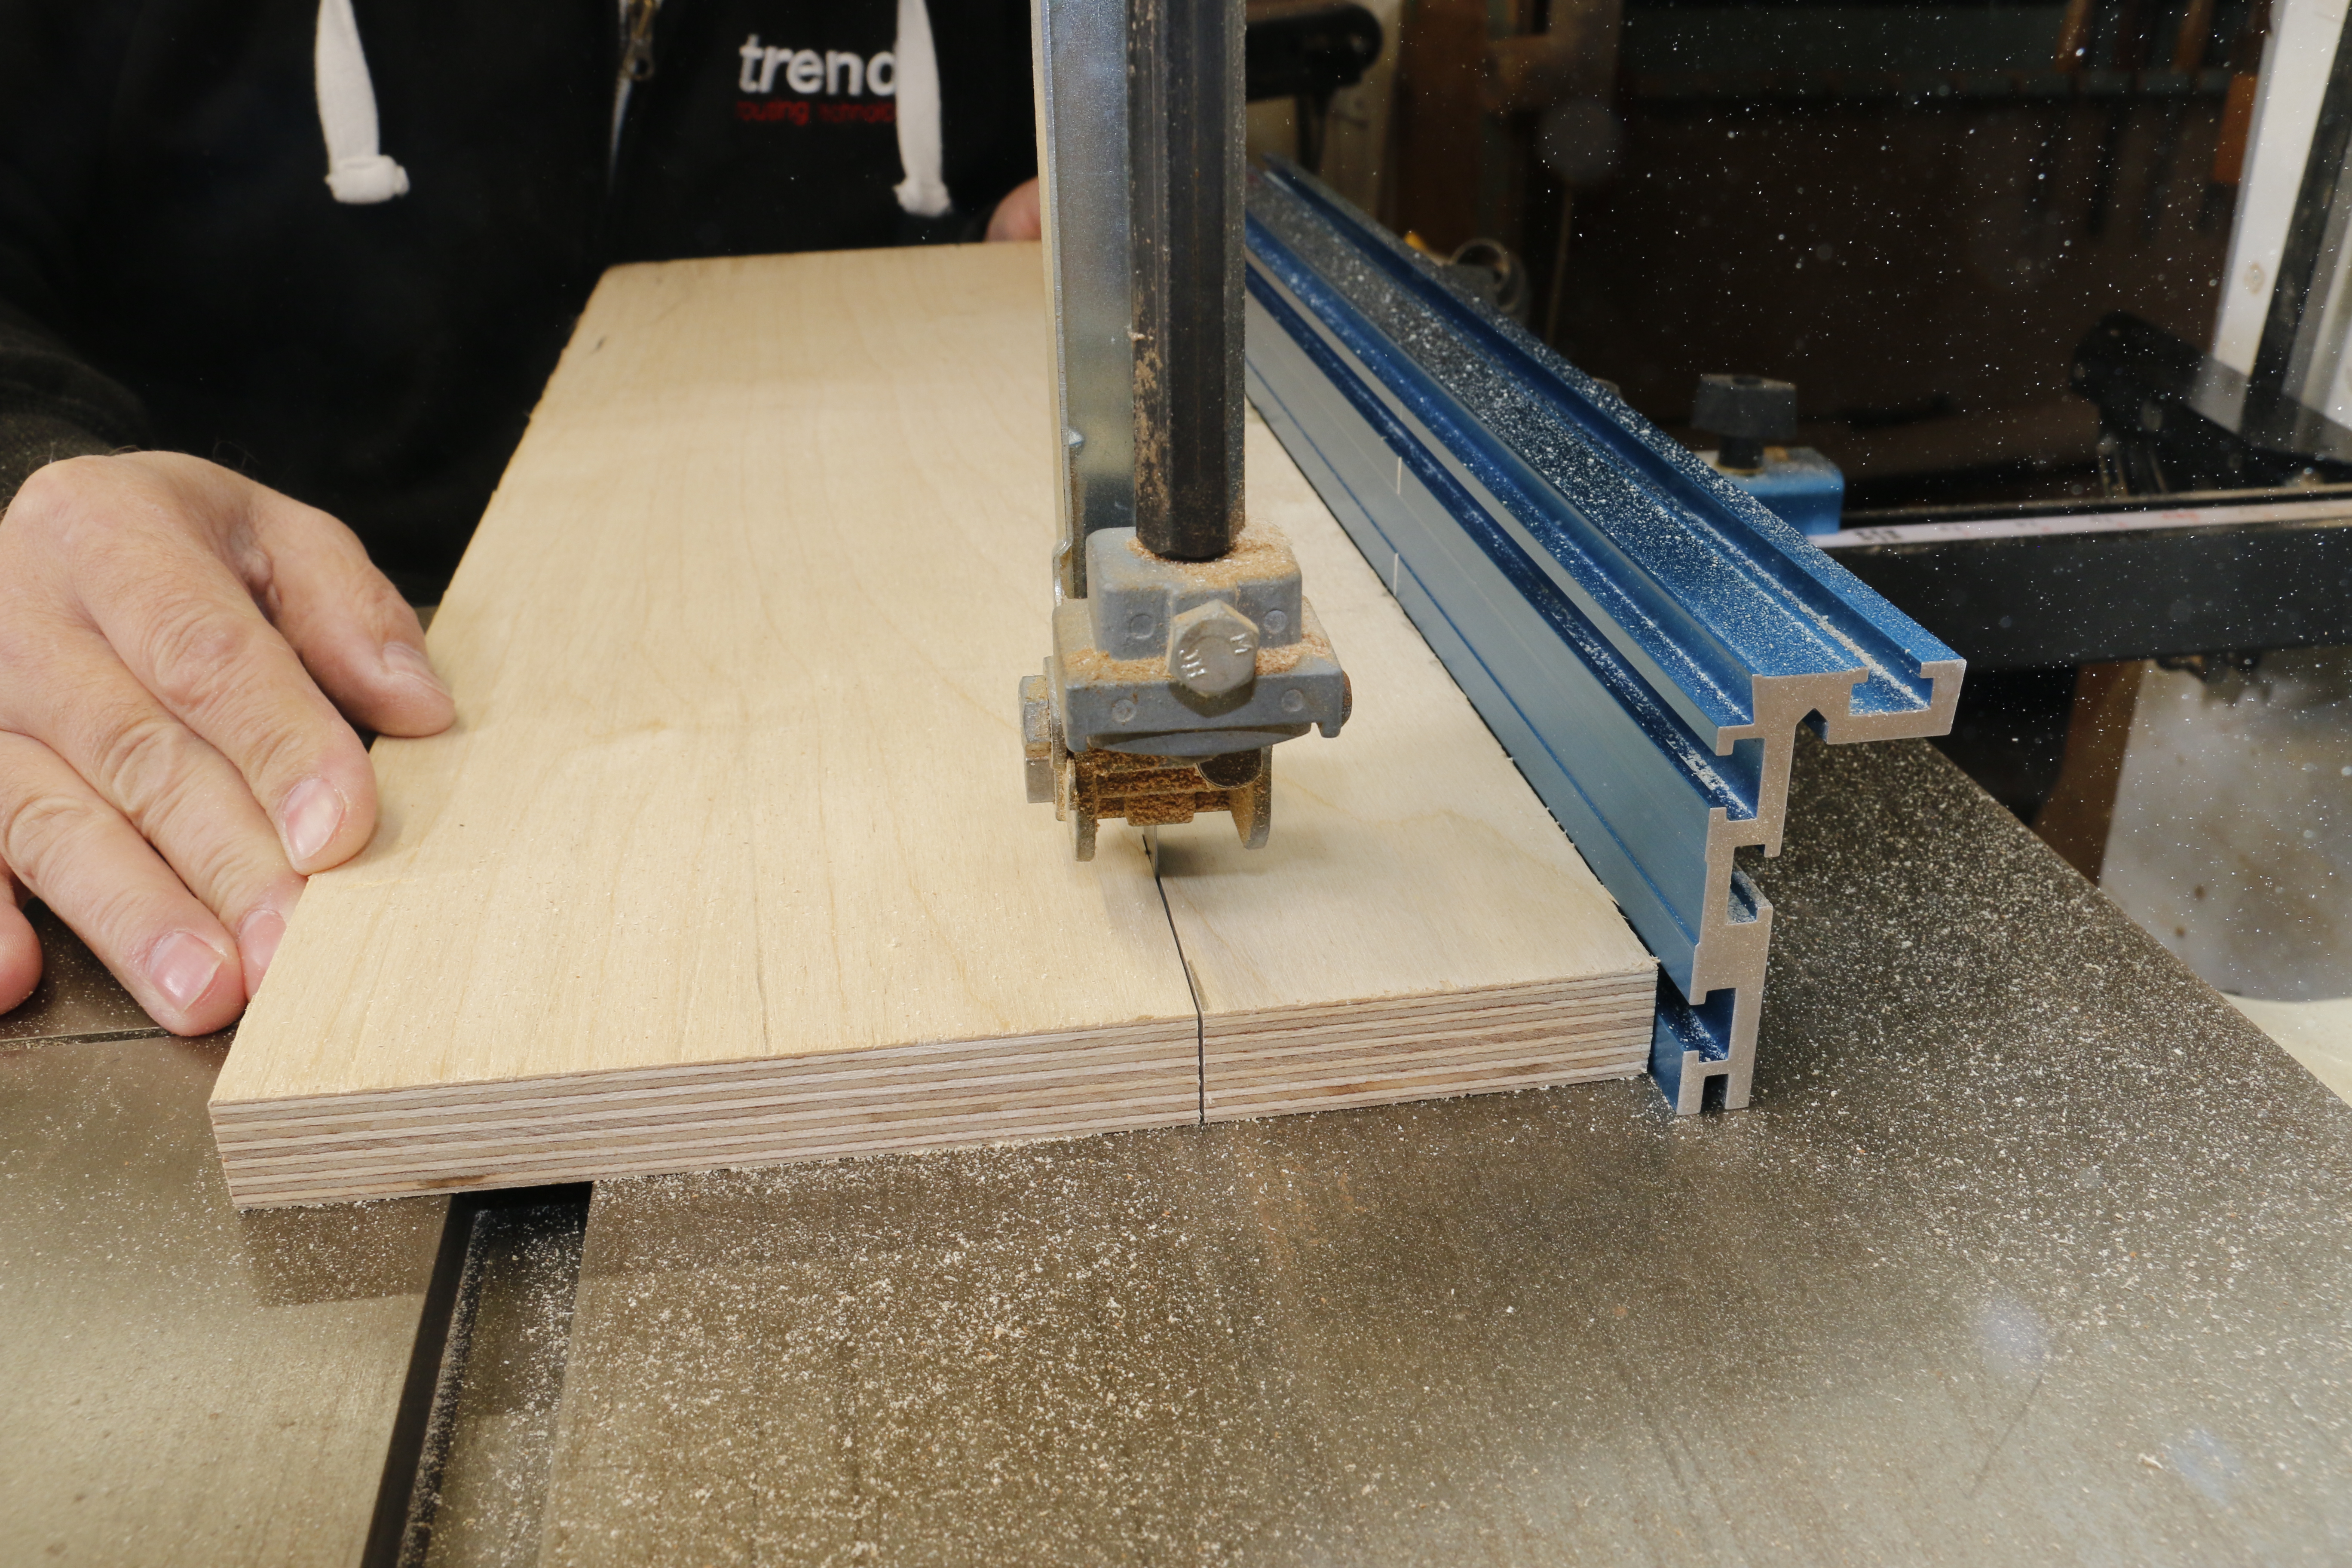
For long grain work the workpiece is fully supported as it progresses.
An additional benefit of the false fence option is that it allows support strips to be tacked onto the outfeed for cutters that remove large amounts of the workpiece such as rebating.